I accidentally lost files from an HFS-formatted external drive after it stopped mounting on my Mac. I need a reliable HFS file recovery tool that can scan the drive safely and recover photos, documents, and folders without making the damage worse. What software or recovery method has worked best for you?
If an old Mac external drive suddenly turns unreadable, don’t start throwing random repair tools at it. With HFS or HFS+ drives, recovery can still work in a lot of cases, including deleted files, emptied Trash, accidental formatting, or weird problems after a macOS update. The main thing is to avoid making the drive worse before you’ve copied the data somewhere safe.
The safest order is roughly this:
- Stop writing anything to the drive. Deleted data can often still be there, but new files may overwrite it.
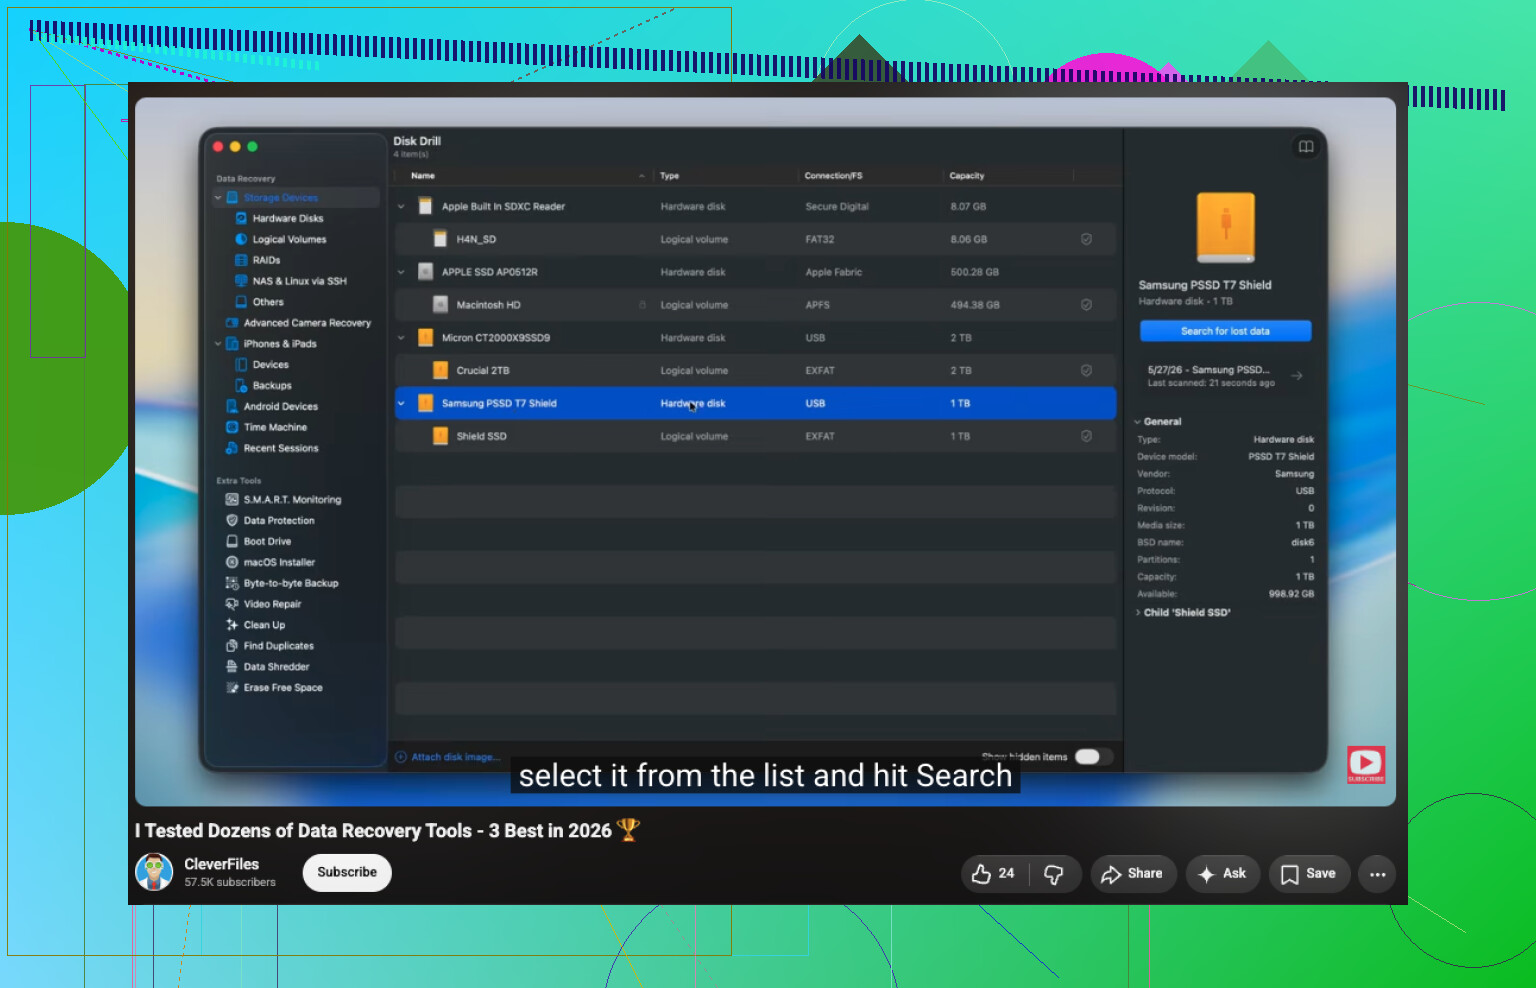
- Check whether the drive itself is failing. For an HDD, check the SMART status with something like Disk Drill or DriveDx. If you see lots of bad sectors or serious SMART warnings, assume the drive is unreliable.
- If it looks unstable but still shows up, image it first. Make a disk image and scan that instead of repeatedly scanning the physical drive. That puts less stress on hardware that may already be dying.
- If the drive looks healthy and mounts or appears normally, go straight to recovery. Don’t run First Aid, don’t format it again, and don’t try “repair” utilities before recovering the files you care about.
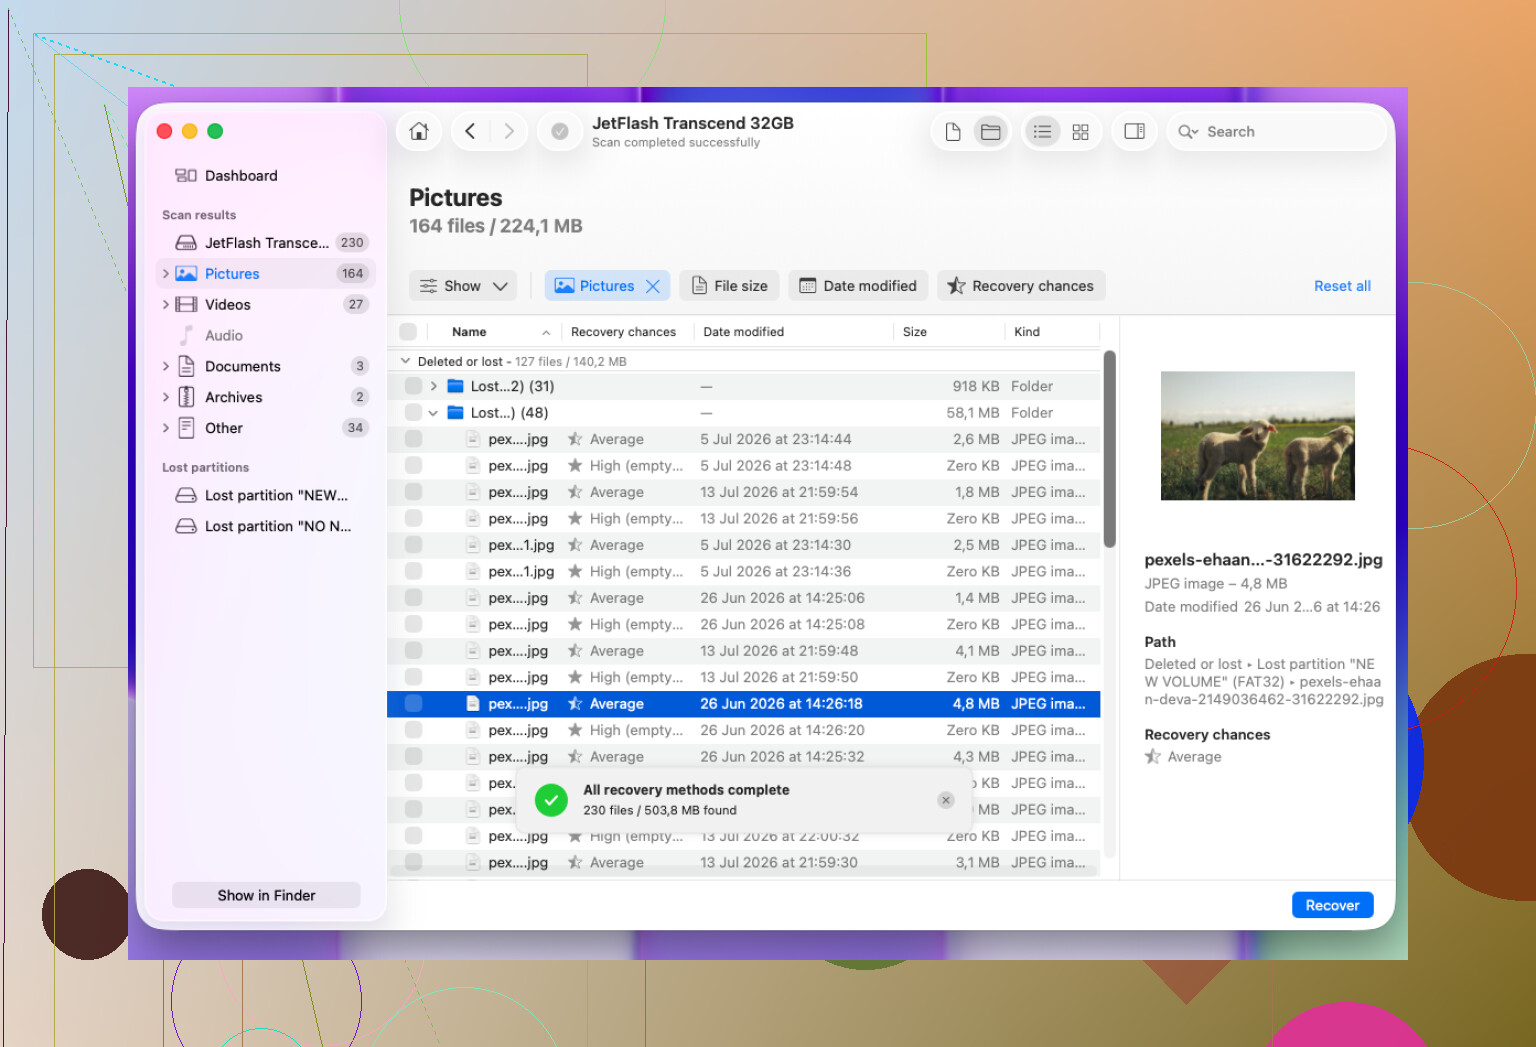
For actual HFS/HFS+ file recovery, Disk Drill is a reasonable first tool to try. It supports HFS/HFS+, works with internal and external drives, and the interface is pretty straightforward even if you haven’t done this before.
The basic workflow is:
- Open Disk Drill and choose the HFS/HFS+ drive.
- Use Search for Lost Data. For external drives, Universal Scan is usually the better option.
- Let the scan finish.
- Preview the files before recovering them.
- Save recovered files to a different drive, not the one you’re recovering from.
If that doesn’t turn up the files, it depends on what actually happened. TestDisk can help when the whole HFS partition is missing, but it’s not very beginner-friendly since it’s text-based. And if you have a recent Time Machine backup, use that first. It’s usually faster and safer than scanning the disk.
Quick format and emptied Trash recovery are both possible in many cases because the file contents usually aren’t wiped right away. The problem starts when new data gets written over the old data. That’s why the “stop using the drive” part matters so much.
I’d stop with DIY recovery if the drive doesn’t appear in Disk Utility, keeps disconnecting, makes clicking or grinding sounds, or recovery tools keep failing with read errors. At that point it’s probably a hardware issue, and powering it on over and over can make recovery harder. That’s when a proper data recovery lab makes more sense.
9 Likes
A drive that won’t mount but still shows its correct size is a very different case from one that drops in and out or shows the wrong capacity. Disk Drill is fine to try for the first case, but don’t be surprised if an HFS catalog problem means some recovered files lose their original names or folder layout. If the drive is unstable, I’d image it before any long scan.
Do not click “Initialize” or “Erase” if macOS pops up that message when you plug the drive in. That dialog is easy to misread when you’re tired or stressed, and it does not mean the data is already gone. It usually just means macOS can’t read the volume structure well enough to mount it.
Disk Drill is a fair choice for this kind of job, especially if you want a normal Mac app where you can preview photos and documents before paying or recovering. The caveat is that I wouldn’t judge the scan too early. HFS recovery can look messy at first because the directory info may be damaged, so check both the found folder tree and the “reconstructed” or file-type results. The folder names might not all survive, but the actual JPEGs, PDFs, Word docs, etc. may still be recoverable.
Small thing people forget: have a second empty drive ready before you scan. Recovery tools need somewhere else to copy the files, and scrambling to free space after the scan is annoying. If the drive starts disconnecting during the scan, stop treating it like a software problem and clone/image it or send it out. For a healthy drive with a damaged HFS volume, Disk Drill is fine to try. For a physically flaky drive, the “best tool” is the one that reads it the fewest times.
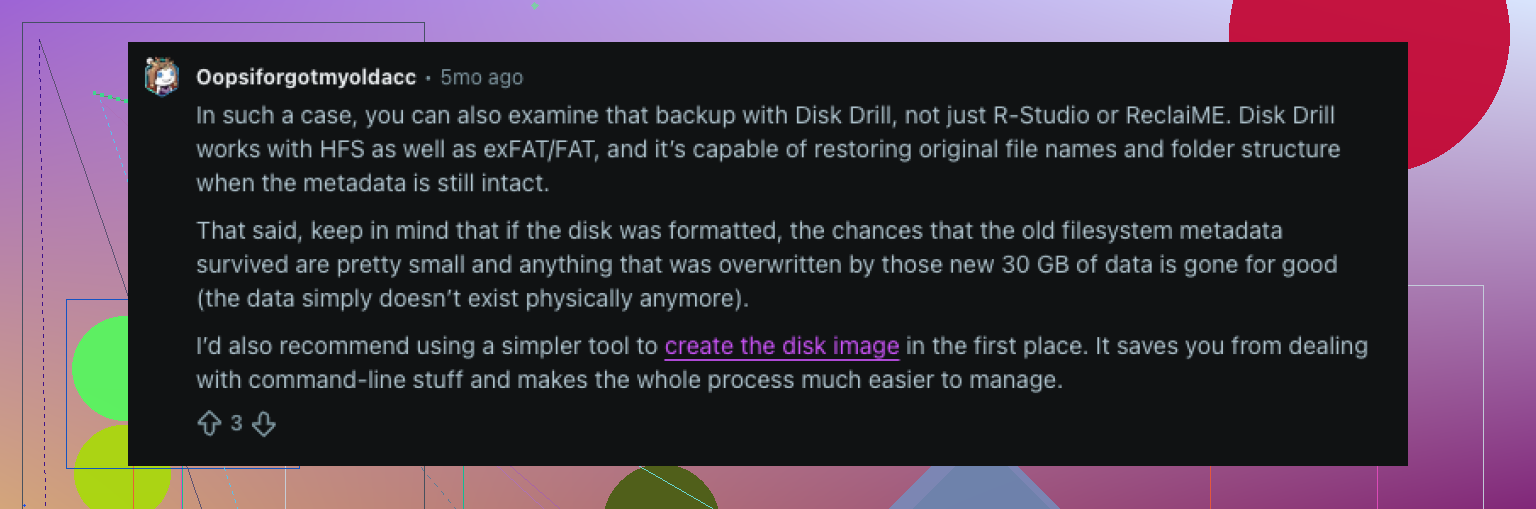
Expect the recovery to be imperfect even if the tool works. A damaged HFS catalog can mean you get the photos and documents back, but some folder paths, dates, and filenames may be gone or duplicated. That is normal, not always a sign the scan failed.
For a normal user, I’d put Disk Drill near the top of the list because it is easier to sort through than the free command-line style tools. The preview feature matters more than people think. If it can preview your JPEGs, PDFs, DOCX files, etc., that is a good sign before you spend time recovering a giant pile of junk. Just don’t recover back onto the same external drive, and don’t let macOS “fix” or initialize it first.
The cheaper route is PhotoRec/TestDisk, but PhotoRec especially can dump thousands of files with generic names and no folder structure. That is fine if you only need “any copy of my photos,” but miserable if you need organized project folders. So my practical answer would be: try Disk Drill first if the drive appears with the correct size and stays connected. If it clicks, vanishes, or scans at a crawl with read errors, stop scanning and clone it or use a recovery lab.