My Seagate external hard drive still powers on and spins, but no files show up when I connect it to my computer. I’m trying to recover important data and need advice on safe Seagate drive recovery steps before I make it worse.
I’d stop using the Seagate drive for now. If it suddenly looks empty, shows up as RAW or unformatted, or Windows can’t see the files anymore, the data may still be there. The danger is that every write to the drive can overwrite files that might still be recoverable.
So first thing: unplug it and don’t let Windows “fix” it. Don’t format it, don’t initialize it, and don’t copy anything new onto it. A lot of the time, missing files are not actually wiped right away. The file system or partition info may be damaged, or the drive may have marked the space as free.
Also listen to the drive before doing anything software-related. Clicking, grinding, beeping, repeated spin-up/spin-down, or any new weird sound is a bad sign. In that case I would not run a full recovery scan, because that can stress a failing drive even more. Look at Seagate Rescue Data Recovery Services instead. Some Backup Plus drives included limited Rescue coverage, and you can check eligibility on Seagate’s site with the serial number.
If the drive sounds normal and still gets detected, then it’s more likely a file system or partition issue. Windows asking to format it, showing it as RAW, or not listing it in File Explorer does not automatically mean the files are gone.
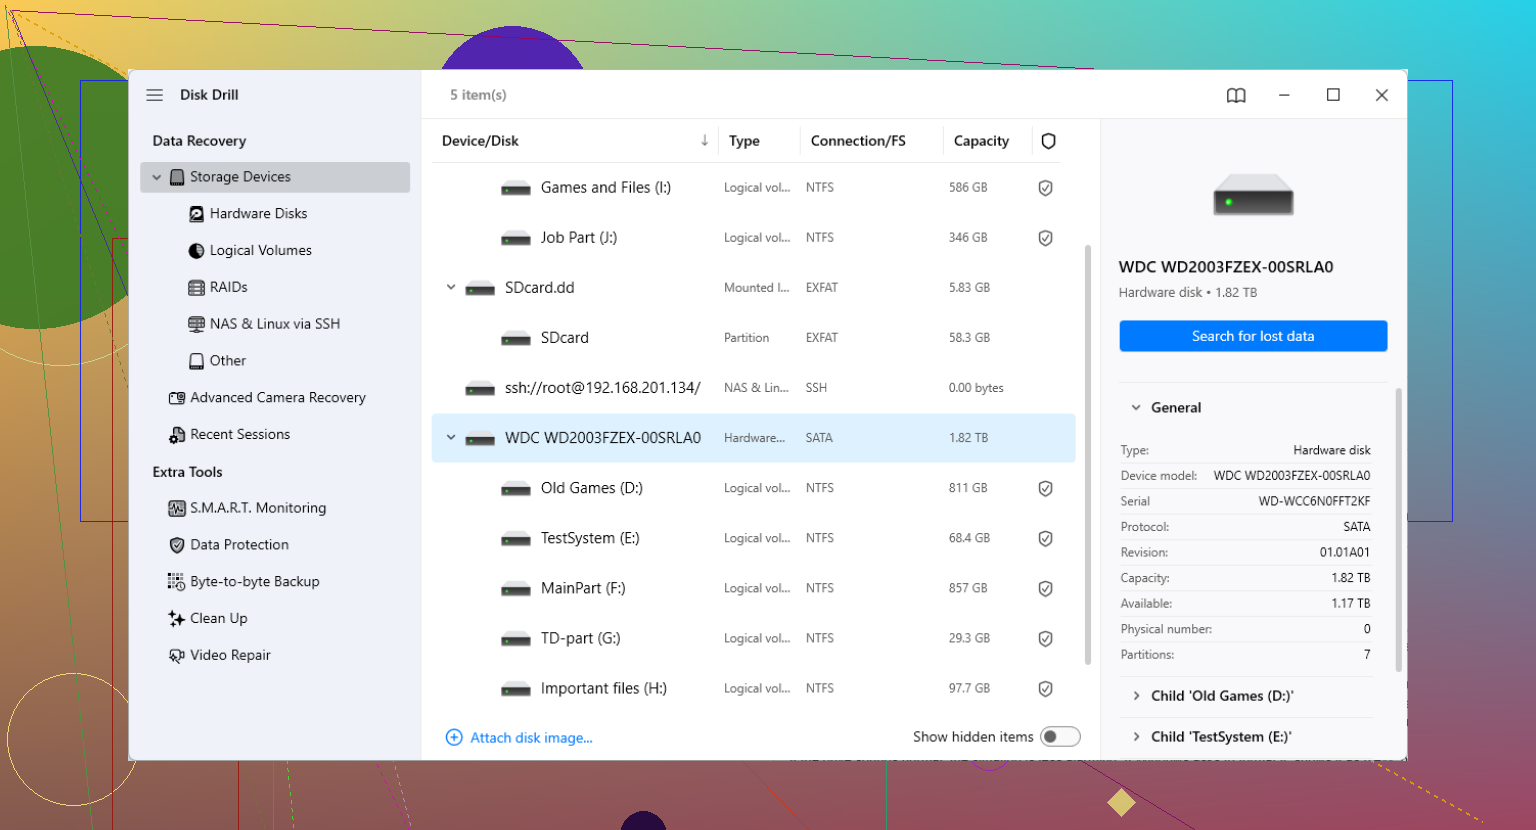
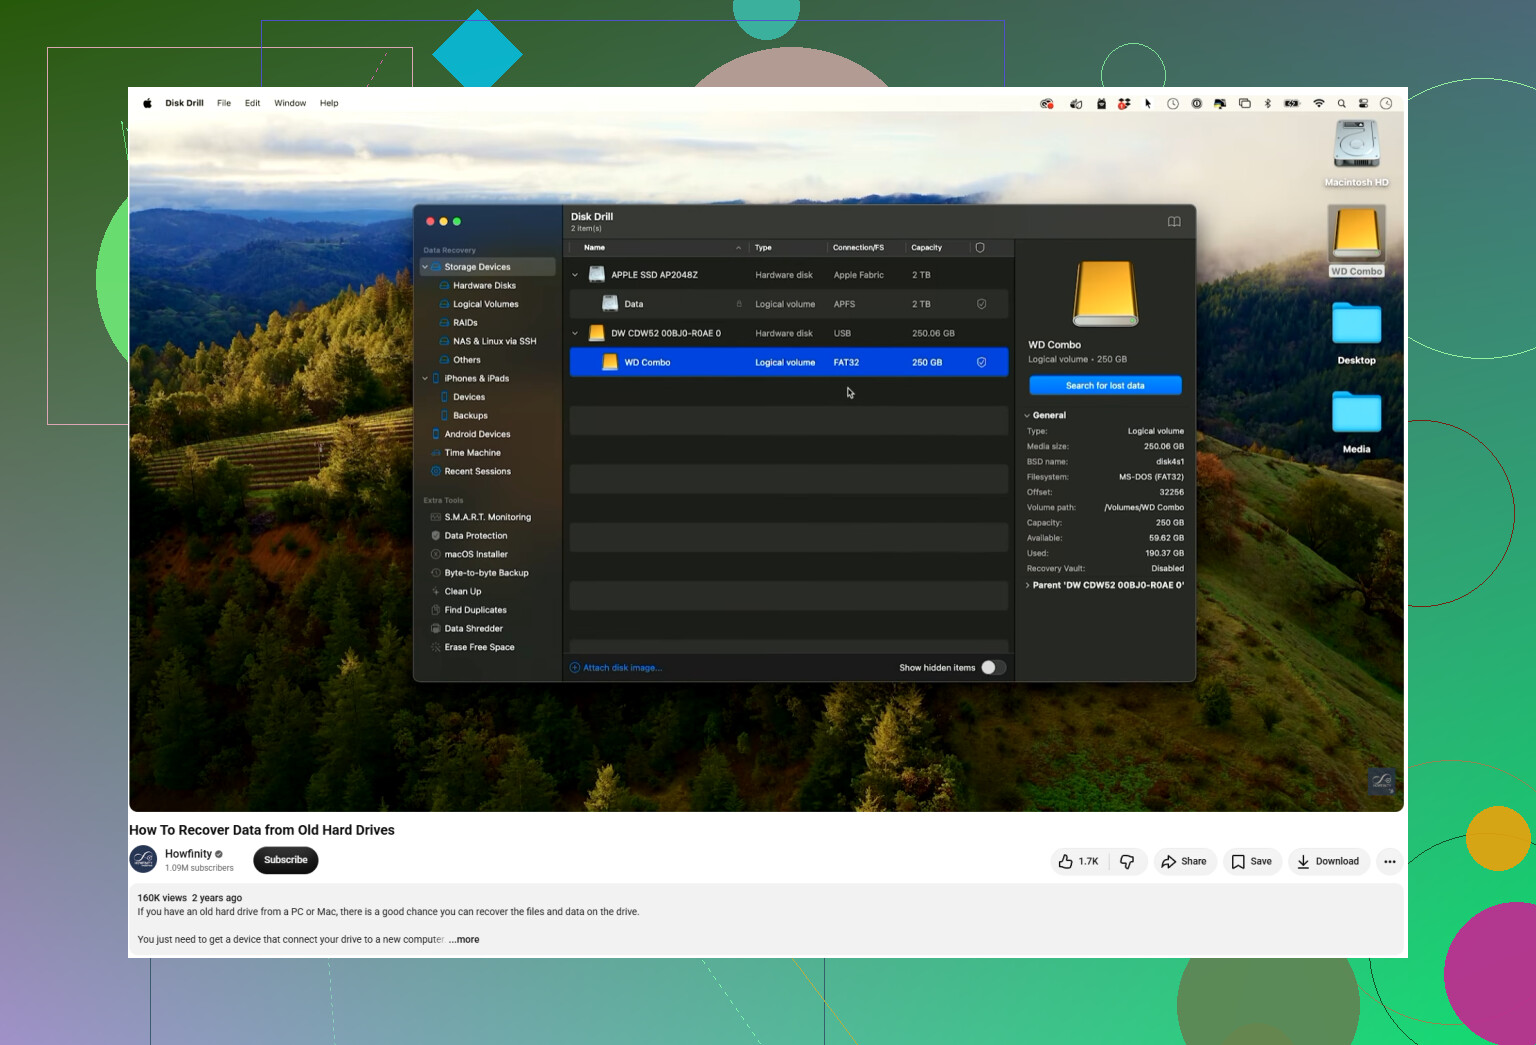
For a DIY attempt, Disk Drill is one option that makes sense here, especially if the Seagate was disconnected improperly, lost a partition, or shows up but can’t be opened.
The safer way to approach it is:
Install Disk Drill on your internal drive, or on some other separate drive. Do not install it on the Seagate you’re trying to recover.
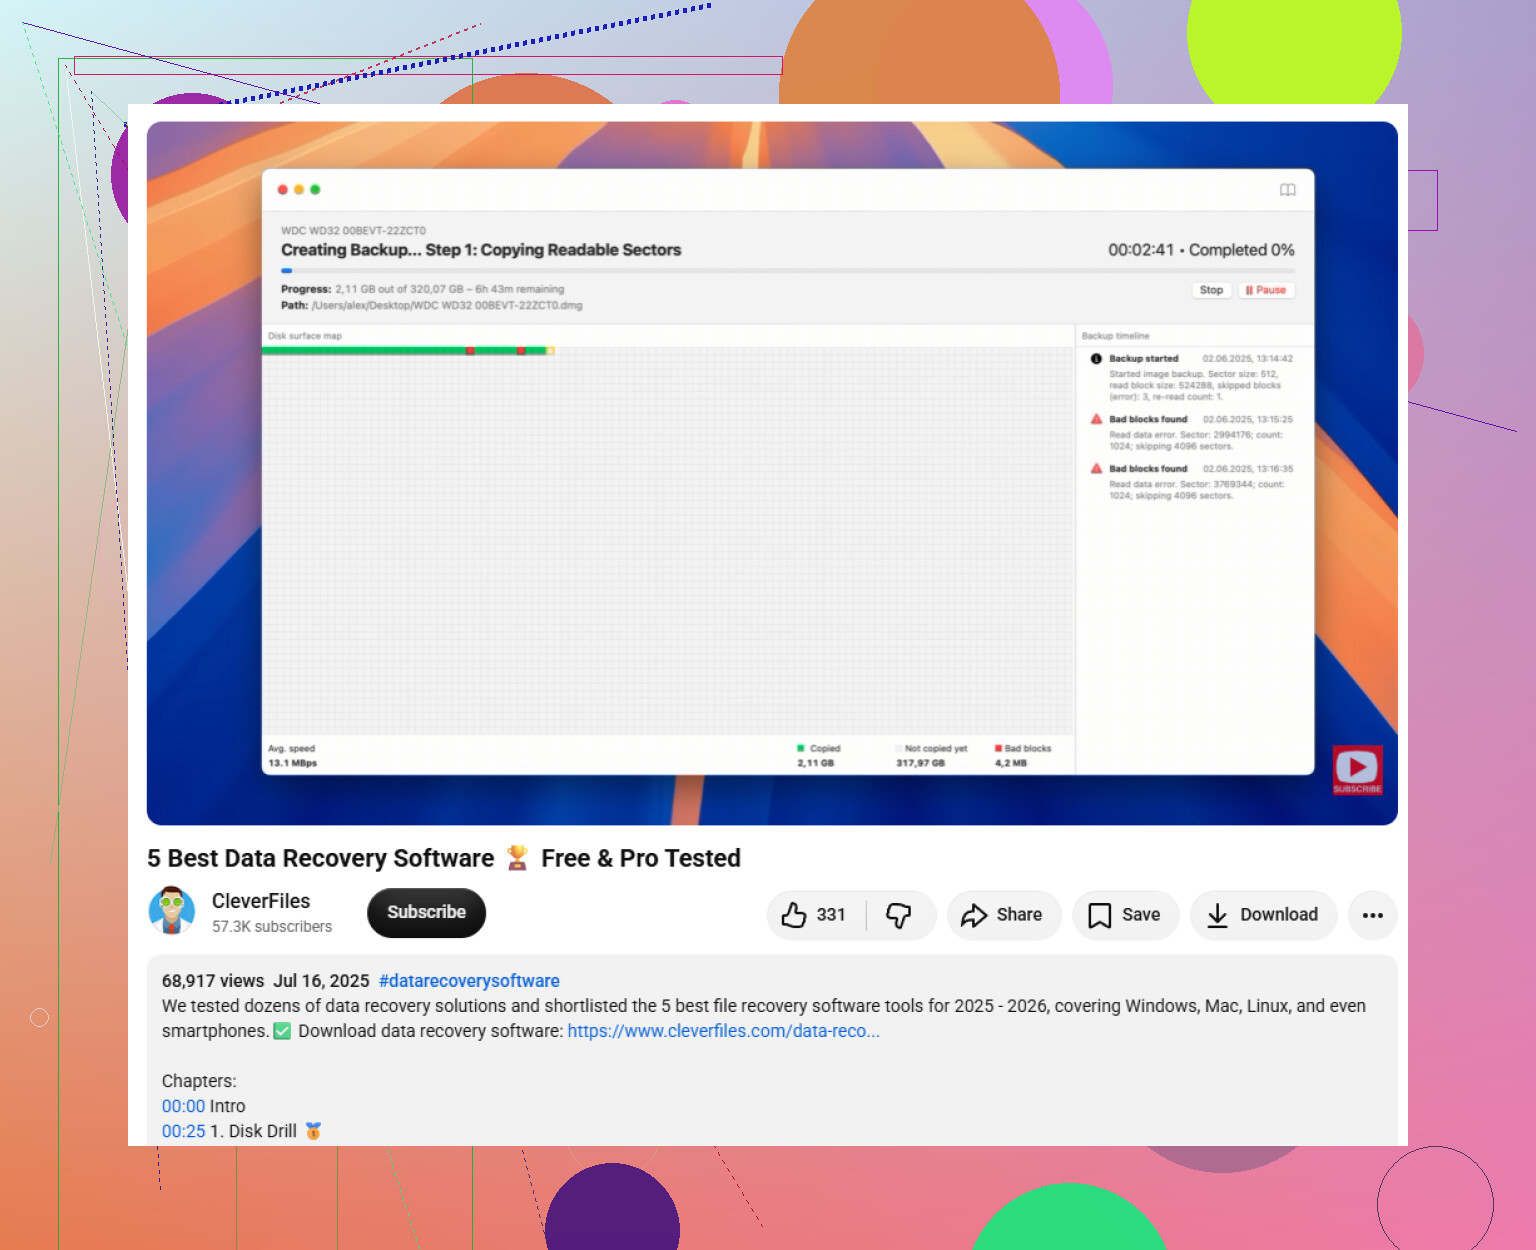
If the files are important, make a byte-to-byte backup first. Disk Drill can create a full image of the Seagate drive, and then you scan the image instead of the physical disk. That’s much safer if the drive is old, unstable, or acting flaky.
Then scan the image, or the original drive if you choose to go that route. Use a good USB cable. If detection is inconsistent, try a different cable or USB port, because sometimes the problem is the enclosure connection or cable rather than the drive itself.
When the scan finishes, check the results carefully and use preview before recovering. If your photos, videos, documents, or other files preview correctly, that’s usually a good sign.
Save recovered files to a different drive only. Never recover them back onto the same Seagate during the recovery process.
If File Explorer doesn’t show the drive, check Windows Disk Management. If it appears there with the correct capacity, recovery software may still be able to scan it even though Windows can’t open it normally.
After you get the important stuff back, run SeaTools from Seagate and do the Long Generic Test. If the drive fails, replace it. If it passes, you can reformat it, but I still wouldn’t fully trust it without another backup in place.
Large external drives can take a long time to scan, so let it run unless the drive starts making bad noises or keeps disconnecting. If it’s still detected and doesn’t seem physically damaged, it’s worth trying recovery before giving up.
9 Likes
Expect this to be slow and possibly incomplete, even if the drive spins normally. A spinning Seagate can still have bad sectors, a damaged file table, or a failing USB bridge, so don’t treat “it powers on” as proof it is healthy. I agree with not formatting or running repair tools, but I’d be careful about repeated full scans too. If the drive drops out, freezes the PC, or makes the scan crawl for hours at the same spot, stop and clone/image it first or consider a lab. Disk Drill is fine for a DIY pass if the drive stays connected, but recover to a separate disk and don’t judge by File Explorer alone. Check Disk Management: correct capacity is a better sign than whether Windows shows files.
Do not “fix” the partition just because Windows offers to.
That prompt is where a lot of people make the situation worse. If Windows says the Seagate needs to be formatted, initialized, checked, repaired, or assigned a new volume, cancel it. Those actions can write new metadata to the disk, and with recovery you want the drive as untouched as possible until you have copied the data somewhere else.
The missing piece here is the enclosure side of it. A Seagate external drive is really two things: the hard drive and the USB enclosure/controller. Sometimes the actual disk is still readable, but the USB bridge, cable, port, or power supply is the flaky part. If it is a desktop-style external drive with a separate power adapter, make sure you are using the correct adapter. A wrong-but-fits adapter can make the drive spin and still behave badly. If it is a portable USB drive, plug it directly into the computer, not a hub, dock, monitor port, or front panel USB port.
I would check the basics in this order:
Open Disk Management and see what Windows thinks the drive is.
If it shows the correct size, that is a decent sign. Do not create a new partition if it says unallocated. Do not format if it says RAW.
If it shows the wrong size, like 0 bytes, 3.86 GB, or some nonsense capacity, that points more toward a bridge/firmware/hardware problem than a simple deleted-files problem.
If it keeps disappearing and reappearing, stop testing it through that setup. You are not learning much by reconnecting it twenty times.
A different cable is worth trying. A different computer is worth trying. A different USB port is worth trying. Those are low-risk tests. What I would not do right away is start opening the enclosure unless you know what you are doing and are okay with possible warranty issues. Some external drives do not behave normally outside their original enclosure, and some portable models have USB built directly onto the drive board, so there may not even be a normal SATA connector inside.
I’m less enthusiastic about “just scan it” than some people are, even though scanning can work. A full scan on a marginal drive can take forever and may push a weak drive over the edge. If the data is really important, the first real goal should be an image/clone, not file recovery. Once you have an image, you can poke at it all day without beating up the original disk.
Disk Drill is fine for the more user-friendly route, especially if the drive is stable and shows the right capacity. The caveat is that you should not treat the first pretty file list as proof everything is safe. Preview important files if possible. Photos can show thumbnails but still be corrupt, videos can recover with broken headers, and documents can appear by name while being empty or partial. Recover a sample to another disk and open it before spending hours recovering everything.
If the drive is unstable, a tool that can handle bad reads and resume imaging is usually better than a normal recovery scan. That gets more technical, but the idea is simple: copy the easiest readable sectors first, then come back for the bad areas later. Regular recovery software often tries to read in a way that makes a sick drive hang at the same damaged spot.
Do not recover files back onto the Seagate. That sounds obvious, but it is a common mistake when someone only has one large external drive. You need another drive with enough free space for the recovered data. Ideally more space than the used amount on the Seagate, because recovered files can come out duplicated, renamed, or sorted into odd folders.
The decision point is really this: how painful would it be if the DIY attempt made the drive worse? If these are replaceable movies or old downloads, sure, try software carefully. If it is family photos, business records, tax stuff, or anything you cannot recreate, get a quote from a recovery lab before doing long scans. Quotes are often cheaper than regret.
After recovery, I would not keep using that Seagate as a trusted backup drive until it passes a full diagnostic and even then I’d be cautious. Drives that suddenly lose their file system or vanish from Explorer have already given you the warning. Keep the recovered copy somewhere else and make a second backup before experimenting with repairs or reformatting.