My hard drive started freezing during file transfers, and a scan showed bad sectors. I have important photos and work files on it, and now the drive becomes unresponsive whenever I try to access certain folders. I need advice on the safest way to recover data from a failing hard drive with bad sectors before it stops working completely.
I ran into this more than once. CRC errors, folders freezing Explorer, copy jobs stopping halfway. It feels small at first, then the drive starts acting weird in a dozen little ways. If you're seeing that stuff, stop touching the drive.
If it is your system disk, shut the PC off. If it is external, unplug it. I learned this the hard way. Leaving a weak drive online gives Windows more chances to poke it, index it, retry reads, and make a rough spot worse. A drive with a few unreadable sectors sometimes turns into a drive with a lot more after one long afternoon of 'trying things.'
What those bad sectors usually mean
I keep it simple:
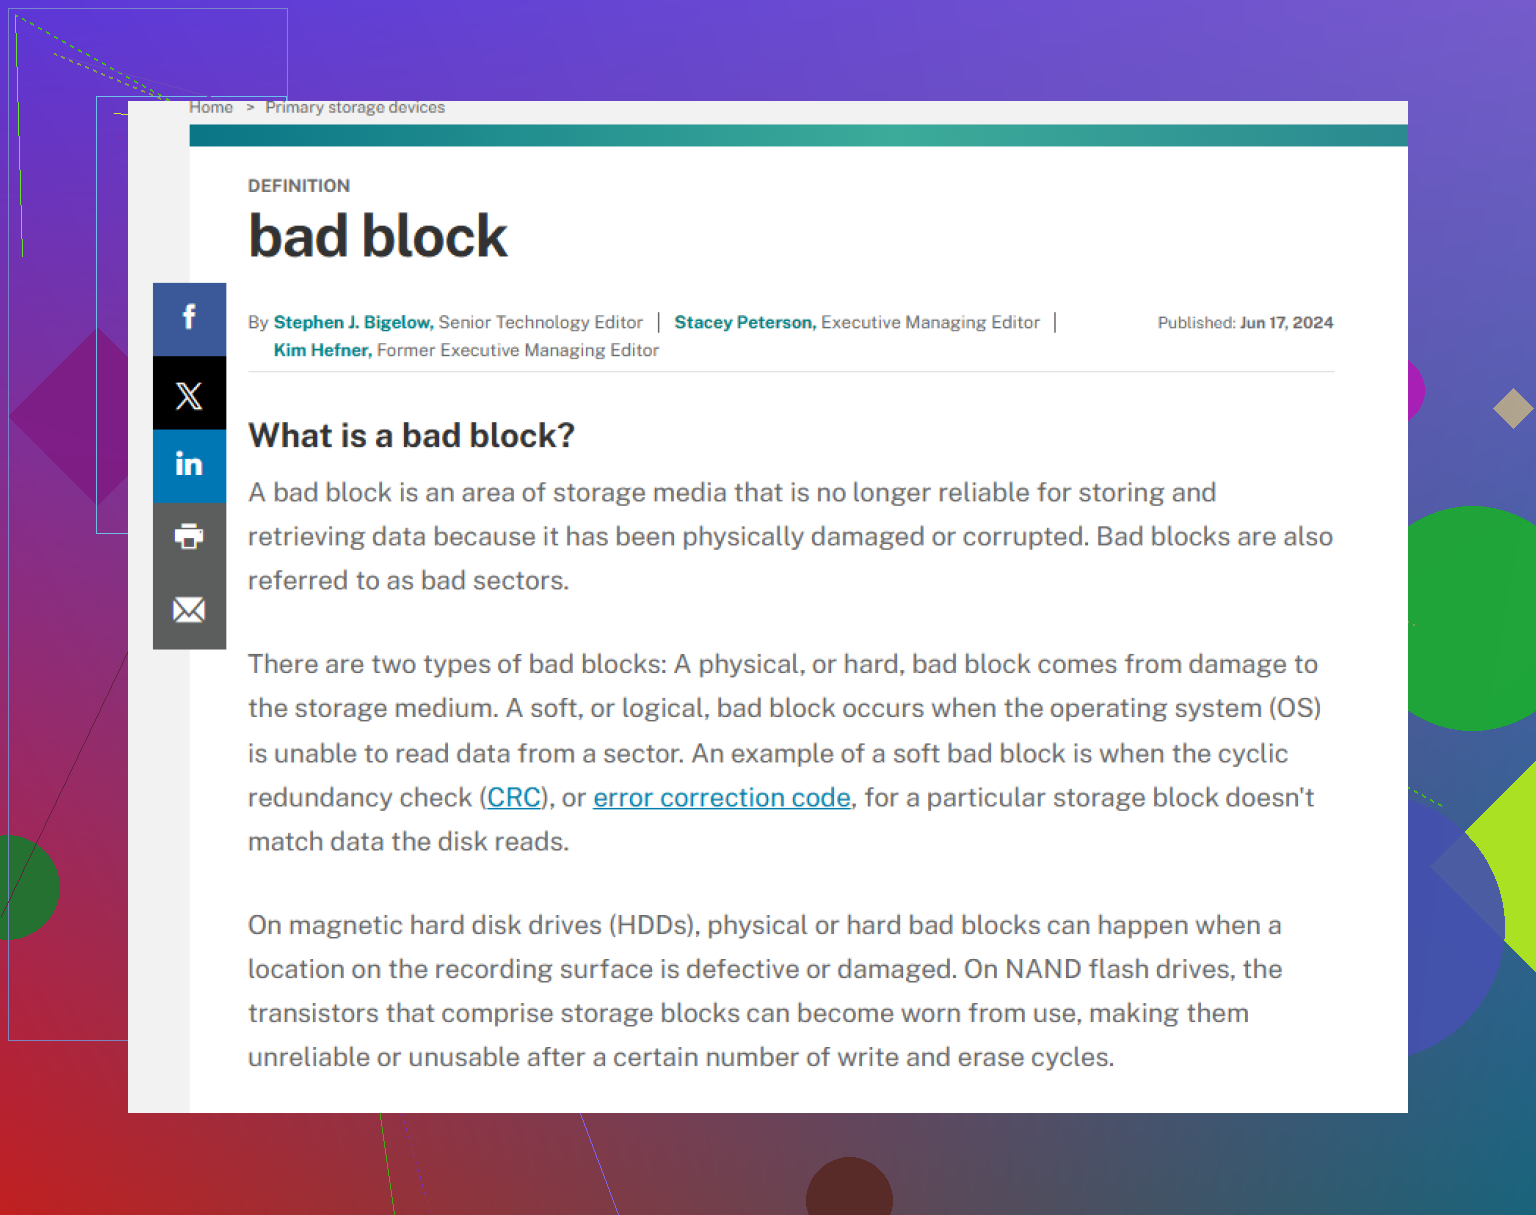
Soft bad sectors are data consistency failures. The sector is there, but the contents and checksum do not line up. I saw this after a forced shutdown during a file move once. Sometimes those are recoverable.
Hard bad sectors are physical damage, or a head issue, or media wear. Software does not repair physical damage. At best, it copies what is still readable and marks the bad area so the drive stops using it.
Do not start with repair tools
I would not run CHKDSK first. Same for random 'fix disk' tools.
People do this because the drive letter still shows up, so it feels like a file system problem. Sometimes it is. Still, repair tools care about making the volume mount cleanly. They do not care about preserving every file entry. I have seen directory records get cleaned up into oblivion. The disk looked tidier. The data was gone.
What worked better for me
Clone first. Always first.
You want one full pass, sector by sector, from the failing disk onto a healthy target. Then you work from the copy, not the original. If the bad drive dies during recovery, at least you are not starting from zero.
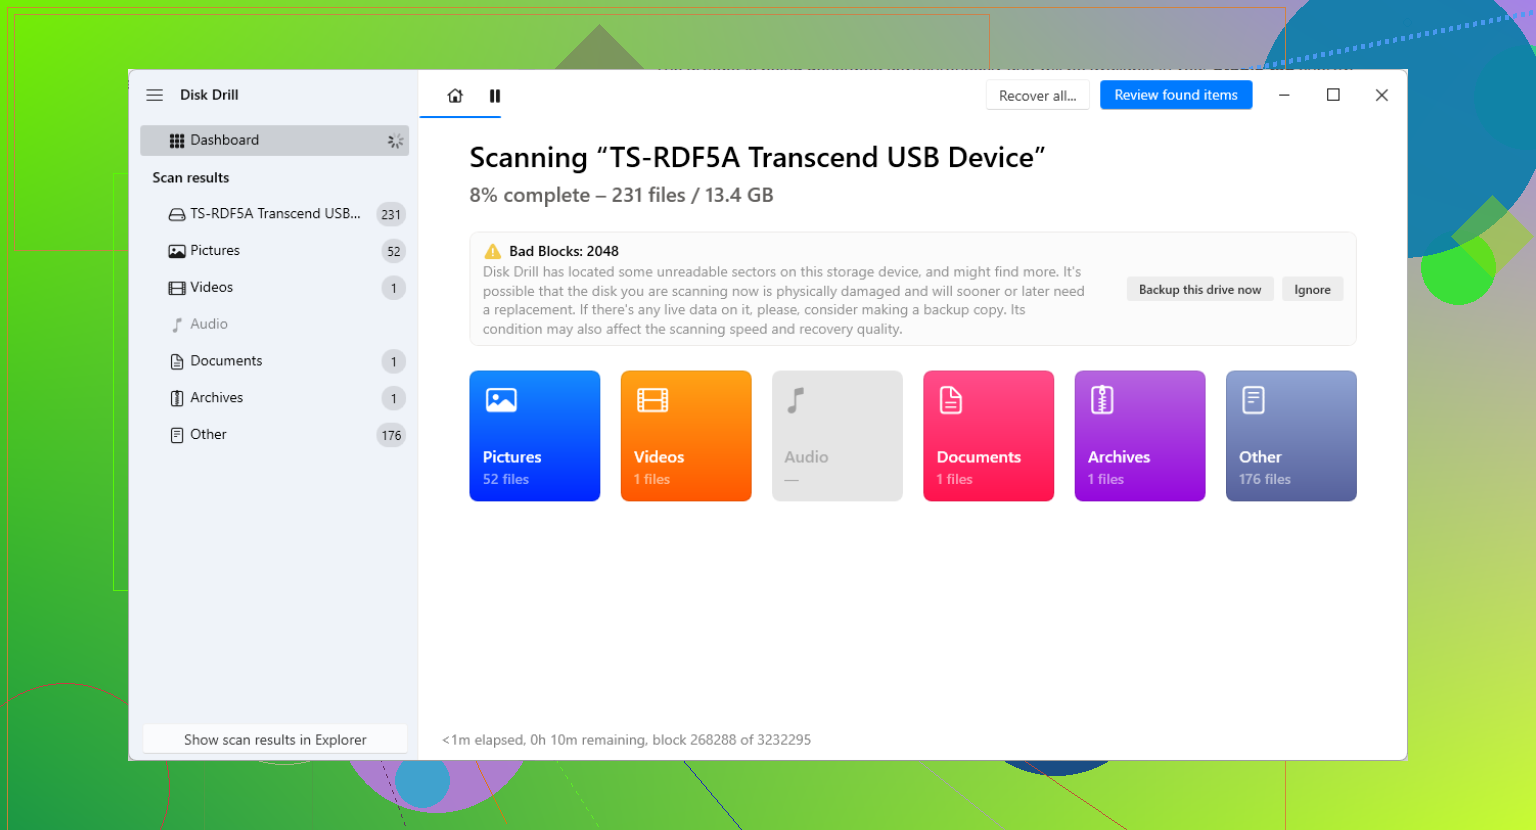
I had the best luck using software with an imaging feature built for unstable media. One option is Disk Drill. Most people know it for deleted files, but for this job the useful part is the Drive Backup feature.
What stood out to me in version 6 was the way it handles ugly sections of a failing disk. When it hits a bad block, it tries not to sit there forever grinding on the same spot. It skips ahead, grabs the easy readable data first, then circles back and retries the rough areas with smaller chunks. That matters. Less strain on the drive, better odds of pulling more files before the hardware quits.
DIY path I would follow
1. Get another drive ready.
The destination should be at least the same size as the failing drive. Bigger is fine. Do not clone onto the same disk. Sounds obvious, but I have seen people ask.
2. Make an image or direct clone.
Start the backup and leave it alone. This part drags. Healthy drives finish fast. Sick drives crawl, pause, retry, and sometimes look frozen for long stretches.
3. Mount or attach the image file.
If you end up with an .img or .dmg, load that image inside the recovery software and scan the image, not the original disk.
4. Recover files to a different location.
Do not save recovered data back to the failing drive. Also avoid dumping it onto the clone source path if your tool warns against it. Use a third disk if you have one. I do this every time now.
When I would stop and pay a lab
If the drive clicks, grinds, beeps, spins down, or does not spin at all, I would quit the DIY route. Same if BIOS stops seeing it or it drops in and out every few minutes. Those are bad signs.
At that point, software is not the fix. A recovery lab is. Places like Gillware or Techchef deal with head swaps and internal work in clean environments. It is not cheap. The range I usually see is about $500 to $3,000, sometimes more. If the files are business records, family photos with no backup, or anything you value more than the lab fee, I would not keep testing the drive on my desk.
After the files are safe
Once you have checked your recovered files and know they open, then you can mess with the old drive if you still want to. I usually retire it, but if you insist, Windows gives you a couple options.
You can run chkdsk /r in PowerShell. You can also do a full format, not a quick one. A full format forces a sector check and marks bad areas so the file system avoids them later.
I still would not trust a drive once it starts showing bad sectors. In my expereince, it rarely goes back to being normal for long. It becomes the disk you use for throwaway stuff, then one day even that feels dumb.
What I changed after this happened
I switched to a 3-2-1 backup setup. Three copies. Two types of storage. One copy somewhere else. It sounds boring until a drive starts coughing up CRC errors and your whole week gets derailed.
If your disk is failing now, the short version is this: stop using it, clone it, scan the clone, pull your files, then replace the drive.
17 Likes
Stop trying to open the freezing folders. That part matters most.
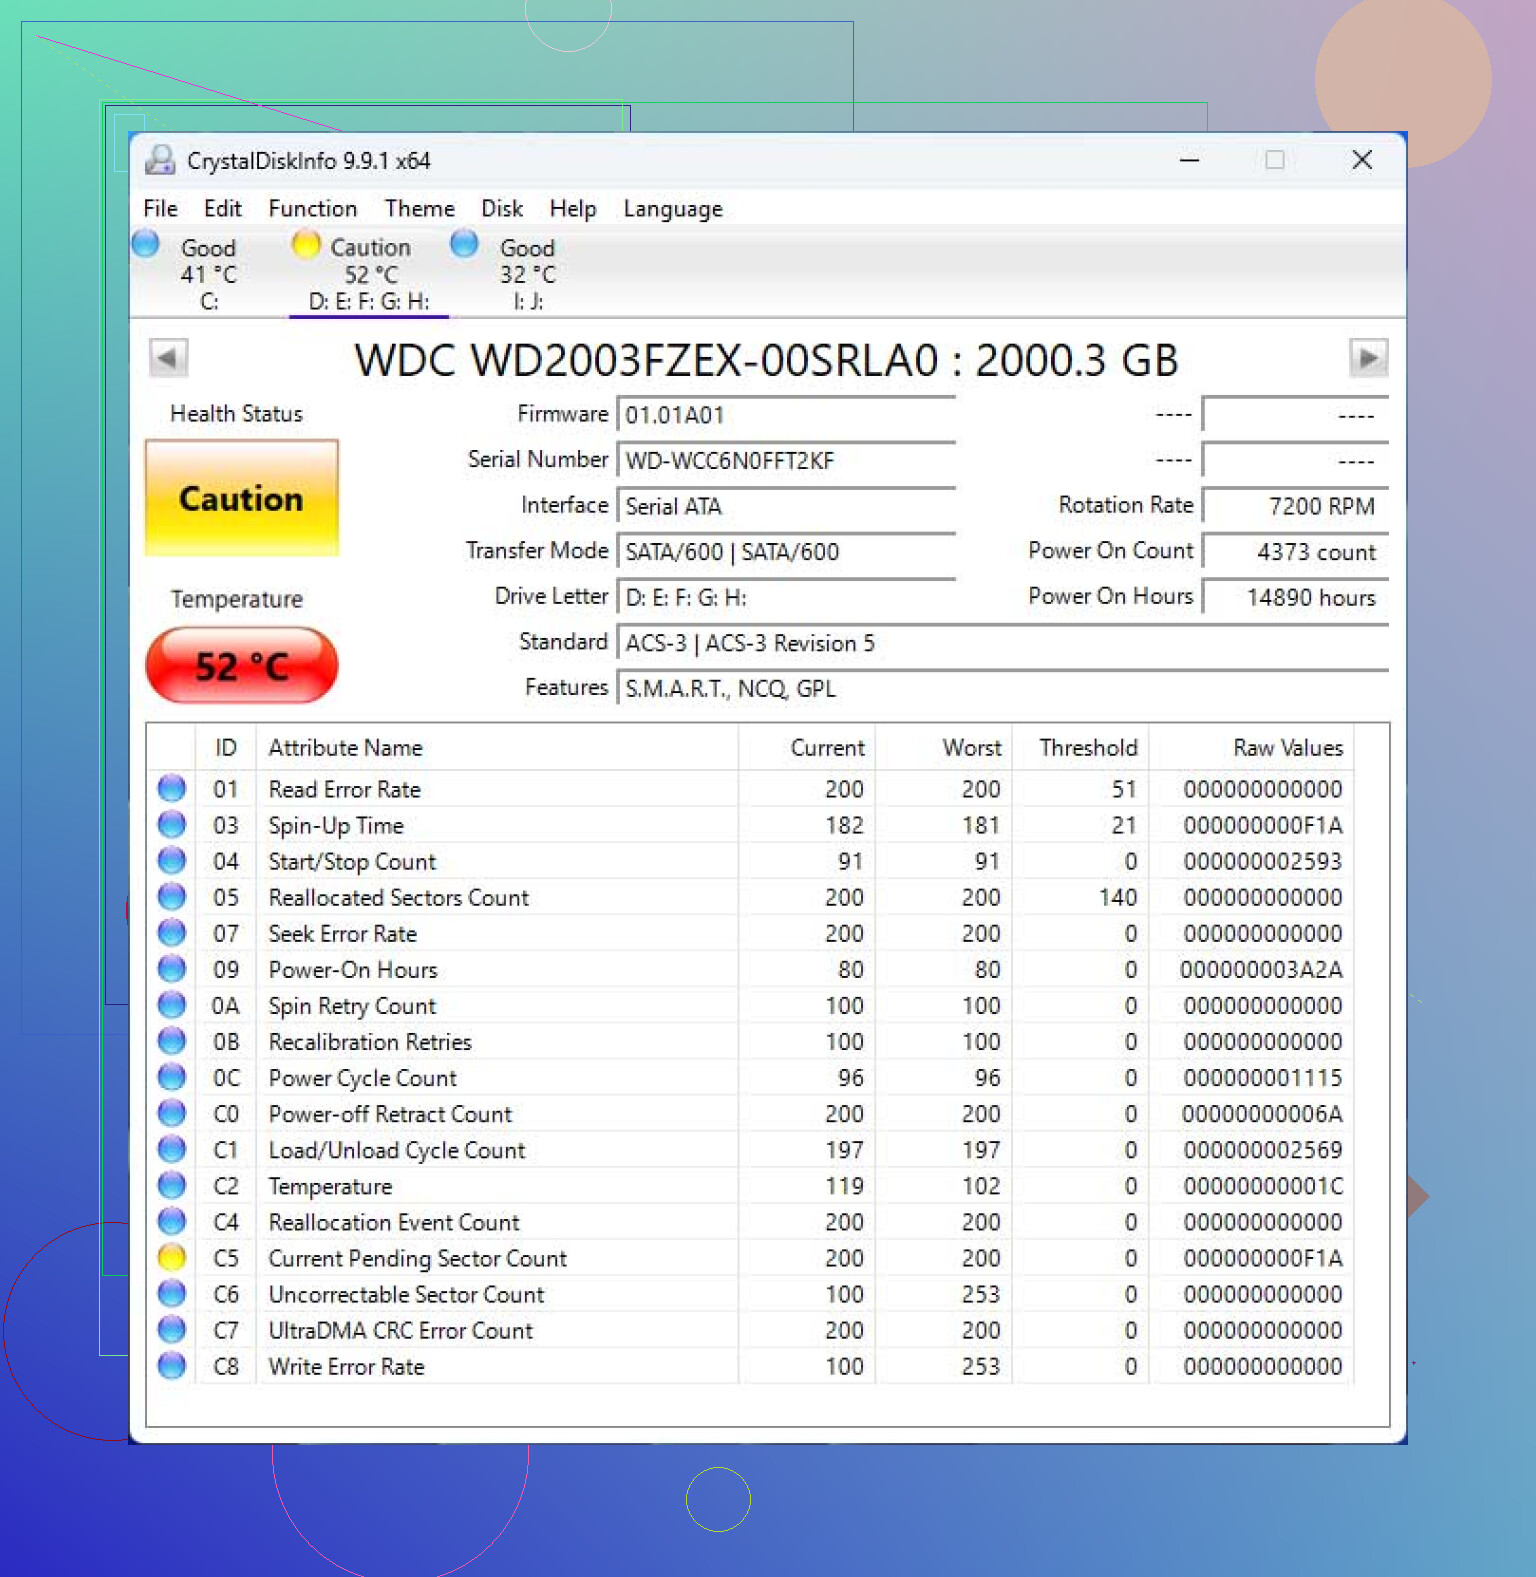
I agree with @mikeappsreviewer on avoiding repair-first. I’d only push one extra point. Check SMART stats before you do anything heavy, if the drive still stays online long enough. Reallocated Sectors, Current Pending Sector, and Uncorrectable Sector Count tell you a lot. If Pending is climbing, the drive is geting worse while powered on.
My order would be:
-
Disable auto stuff.
Turn off indexing for that drive. Close Explorer windows hitting thumbnails and previews. Those background reads waste chances. -
Try a read-only path first.
On Linux, ddrescue is still my first pick for a failing HDD. It logs progress, skips unreadable areas, then retries later. Better control than most Windows tools. If you want a simpler Windows route, Disk Drill is fine for imaging and then scanning the image. -
Recover the highest value files first.
Photos, docs, accounting files. Don’t start with giant video folders. If one area hangs, skip it and move on. -
Work from another machine if possible.
A secondary dock or USB adapter is safer than booting from the sick drive.
Also, if you want a plain explainer on unreadable storage sectors, this is decent:
what bad sectors on a hard drive mean
Small disagreement with the usual advice about running CHKDSK later. If SMART is bad, I wouldn’t bother. Retire the disk. A drive with unreadable sectors already failed its only job.
Don’t chase the freezing folders. That’s the trap. Every time Explorer hangs on one spot, the drive is burning time and retries on weak areas.
I mostly agree with @mikeappsreviewer and @suenodelbosque, but I’d add one thing they only touched lightly: stop using the normal Windows file copy dialog entirely. It’s awful with unstable drives. If you insist on trying a direct file copy before imaging, use something that can skip errors cleanly like TeraCopy or Roadkil’s Unstoppable Copier. Not my first choice, but sometimes it’s the fastest way to grab the one irreplaceable folder before the disk goes totally braindead.
Also, check the drive health details first if it will stay connected long enough. This explains why SMART can look “fine” while your files are clearly not: why SMART status can say good while your hard drive is still failing.
My take:
- If the drive is clicking, buzzing, or disconnecting, stop DIY.
- If it’s just hanging on reads, make an image ASAP.
- If you’re on Windows and want the least fussy route, Disk Drill is actually useful here because you can create a byte-level backup first, then scan that image instead of poking the original disk over and over.
- If you’re comfortable with Linux, ddrescue is still king for ugly media.
One small disagreeement with the “recover highest value files first” advice: only do that if the drive is still pretty responsive. If it’s degrading fast, a full image can be smarter than hunting around the filesystem, because jumping folder to folder causes more random reads.
After recovery, retire the disk. Not “maybe use it for unimportant stuff.” Retire it. It already told you what it is.
One angle I’d add to what @suenodelbosque, @viajantedoceu, and @mikeappsreviewer already covered: watch the drive temperature and power behavior while it’s still detectable. A marginal HDD that heats up fast will often become far less readable after 10 to 20 minutes. In that case, short imaging sessions with cooldown breaks can outperform one heroic all-day run.
I slightly disagree with the “always full image first” rule. Usually yes. But if the drive is still stable enough to enumerate and you know exactly where the irreplaceable stuff lives, a very targeted grab of one tiny folder can sometimes beat spending hours on unreadable empty space. Only for a narrow, calm first pass though.
A few practical things people skip:
- Use a direct motherboard SATA port if possible. USB bridges sometimes hide errors or reset badly.
- Do not keep reconnecting the drive over and over. Spin-up stress is real.
- If the drive has an enclosure, test whether removing it helps, but only if you can do that safely.
- Turn off sleep and USB power saving for the recovery machine.
If you want a GUI route, Disk Drill is reasonable for creating an image before file recovery.
Pros:
- easy byte-to-byte backup workflow
- scans image files so the bad drive gets left alone
- simpler than command-line tools
Cons:
- not as surgical or transparent as ddrescue
- retries can still take a while on badly damaged media
- paid features may be needed depending on recovery depth
My order would be: stabilize setup, image with Disk Drill or ddrescue, validate recovered files, replace the disk. If the drive starts clicking or vanishing from BIOS, stop DIY right there.