I’m trying to use AI tools to generate professional, career-style photos for my LinkedIn and online portfolio, but everything I make either looks too fake, over-edited, or not really like me. I’ve tested a few popular AI photo generators, uploaded different selfies, and played with prompts, but I still can’t get clean, realistic results that match common corporate headshot standards. Can someone walk me through the best tools, settings, prompts, and image requirements to create convincing profession-style AI photos that recruiters will actually take seriously?
If you are hunting for an AI “career photo” tool and not only a generic LinkedIn headshot, I tried Eltima AI Headshot Generator and it did something a bit different than most of the usual suspects.
I am talking about this one:
Why I ended up using Eltima for career-style photos
Most headshot apps give you the same thing over and over: blazer, soft blur background, half-smile. Works for LinkedIn, looks soulless everywhere else.
Eltima has this Career pack where the output is tied to a specific job role instead of a single “business” look. That tiny detail changed how useful it felt for me.
They also have a demo video here:

Inside that Career pack, I got options like:
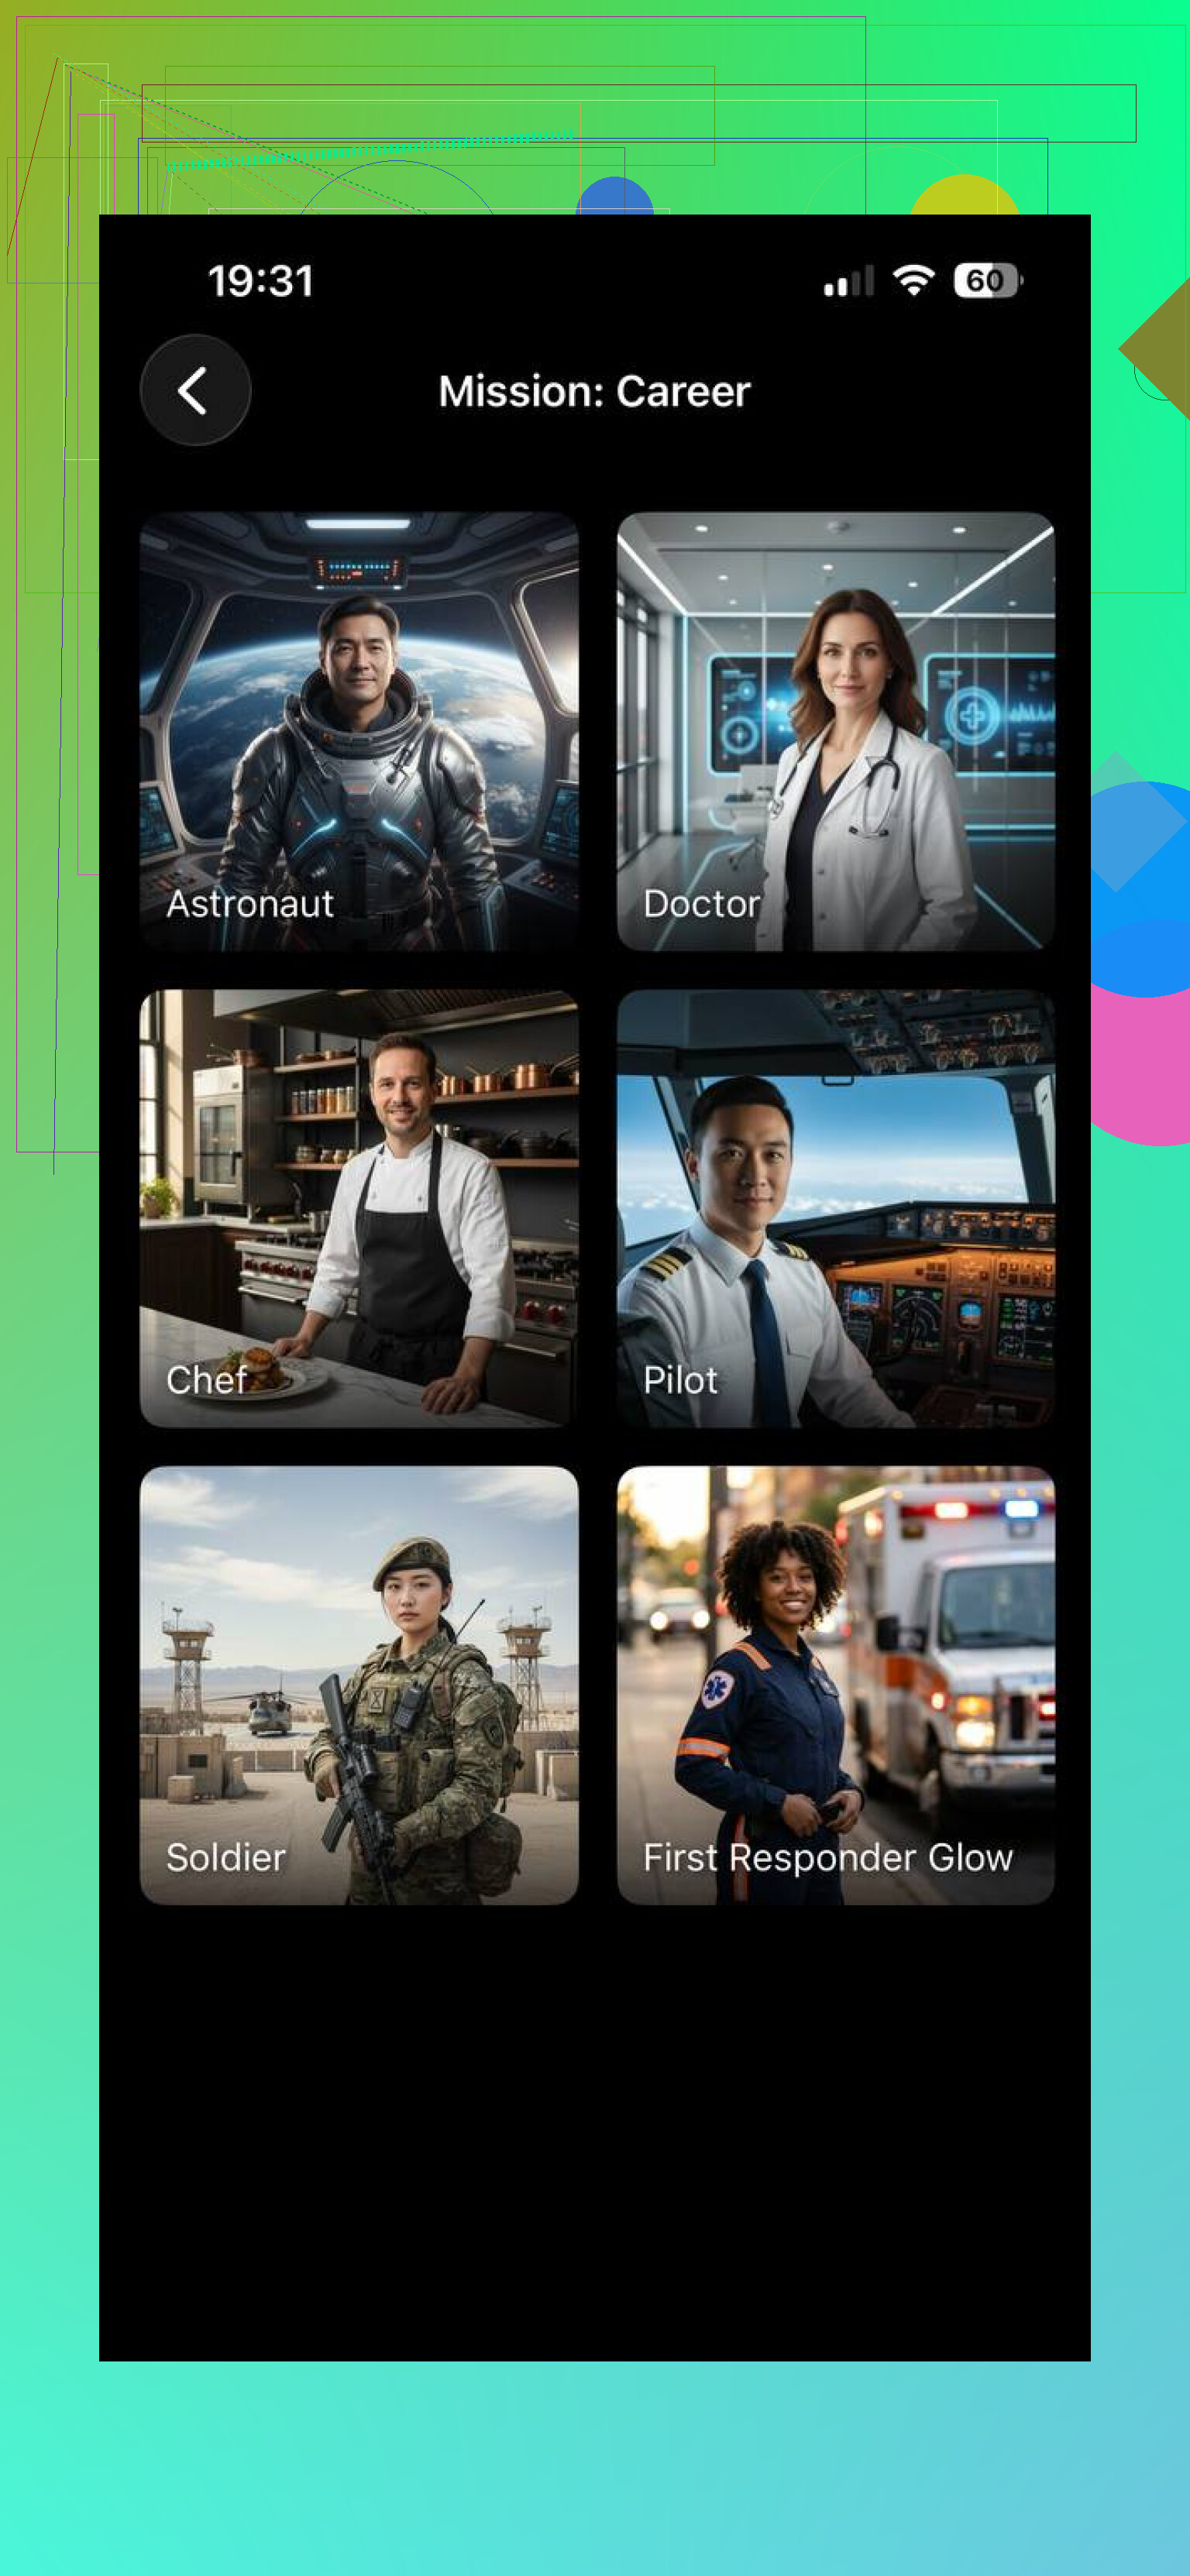
From what I saw, the roles include things like:
- Doctor
- Chef
- Astronaut
- Standard business person
- More “creative” and “technical” styles
Not an infinite list, but wide enough for profile and branding use.
Where this is actually useful
Here is where this type of thing made sense for me and might for you:
• LinkedIn banner or profile if you want less copy-paste “office stock” look
• Portfolio shots when you want the context to match your field
• Personal site or About page where each section has a different vibe
• Career-related posts where you want something consistent but not boring
• “Fun but still realistic” role shots, like astronaut or chef, for social content
The app does the clothes and background itself, so you do not need props, lab coats, stethoscopes, etc. It fakes the whole scene in one go. That saved me a trip to Amazon for a white coat I would never wear again.
How the process went, step by step
I will write what I actually did, not the marketing version.
-
Upload a batch of selfies
I used 3 photos. Mix of angles, some straight-on, some slightly side.
Key things that helped:
• Even lighting on the face
• No huge sunglasses, no masks
• Try not to look like 5 different people, keep beard / hair roughly consistent -
Let the app build your “AI profile”
It trains a model of your face. Took some minutes.
During this phase, bad selfies will haunt you. If you throw in one weird angle or blurry photo, it tends to leak into the results. -
Pick the Career pack
Inside the app I selected the Career pack, then chose specific roles:
• Doctor
• Chef
• Astronaut
• Business pro
• Some creative / tech looks
I tested multiple roles on the same profile to see how consistent the face stayed. -
Generate the photos
This part is mostly waiting. Mine took several minutes per batch.
I noticed:
• Some roles had stronger styling. Astronaut was more “in your face”.
• Business roles were more subtle and closer to regular headshots. -
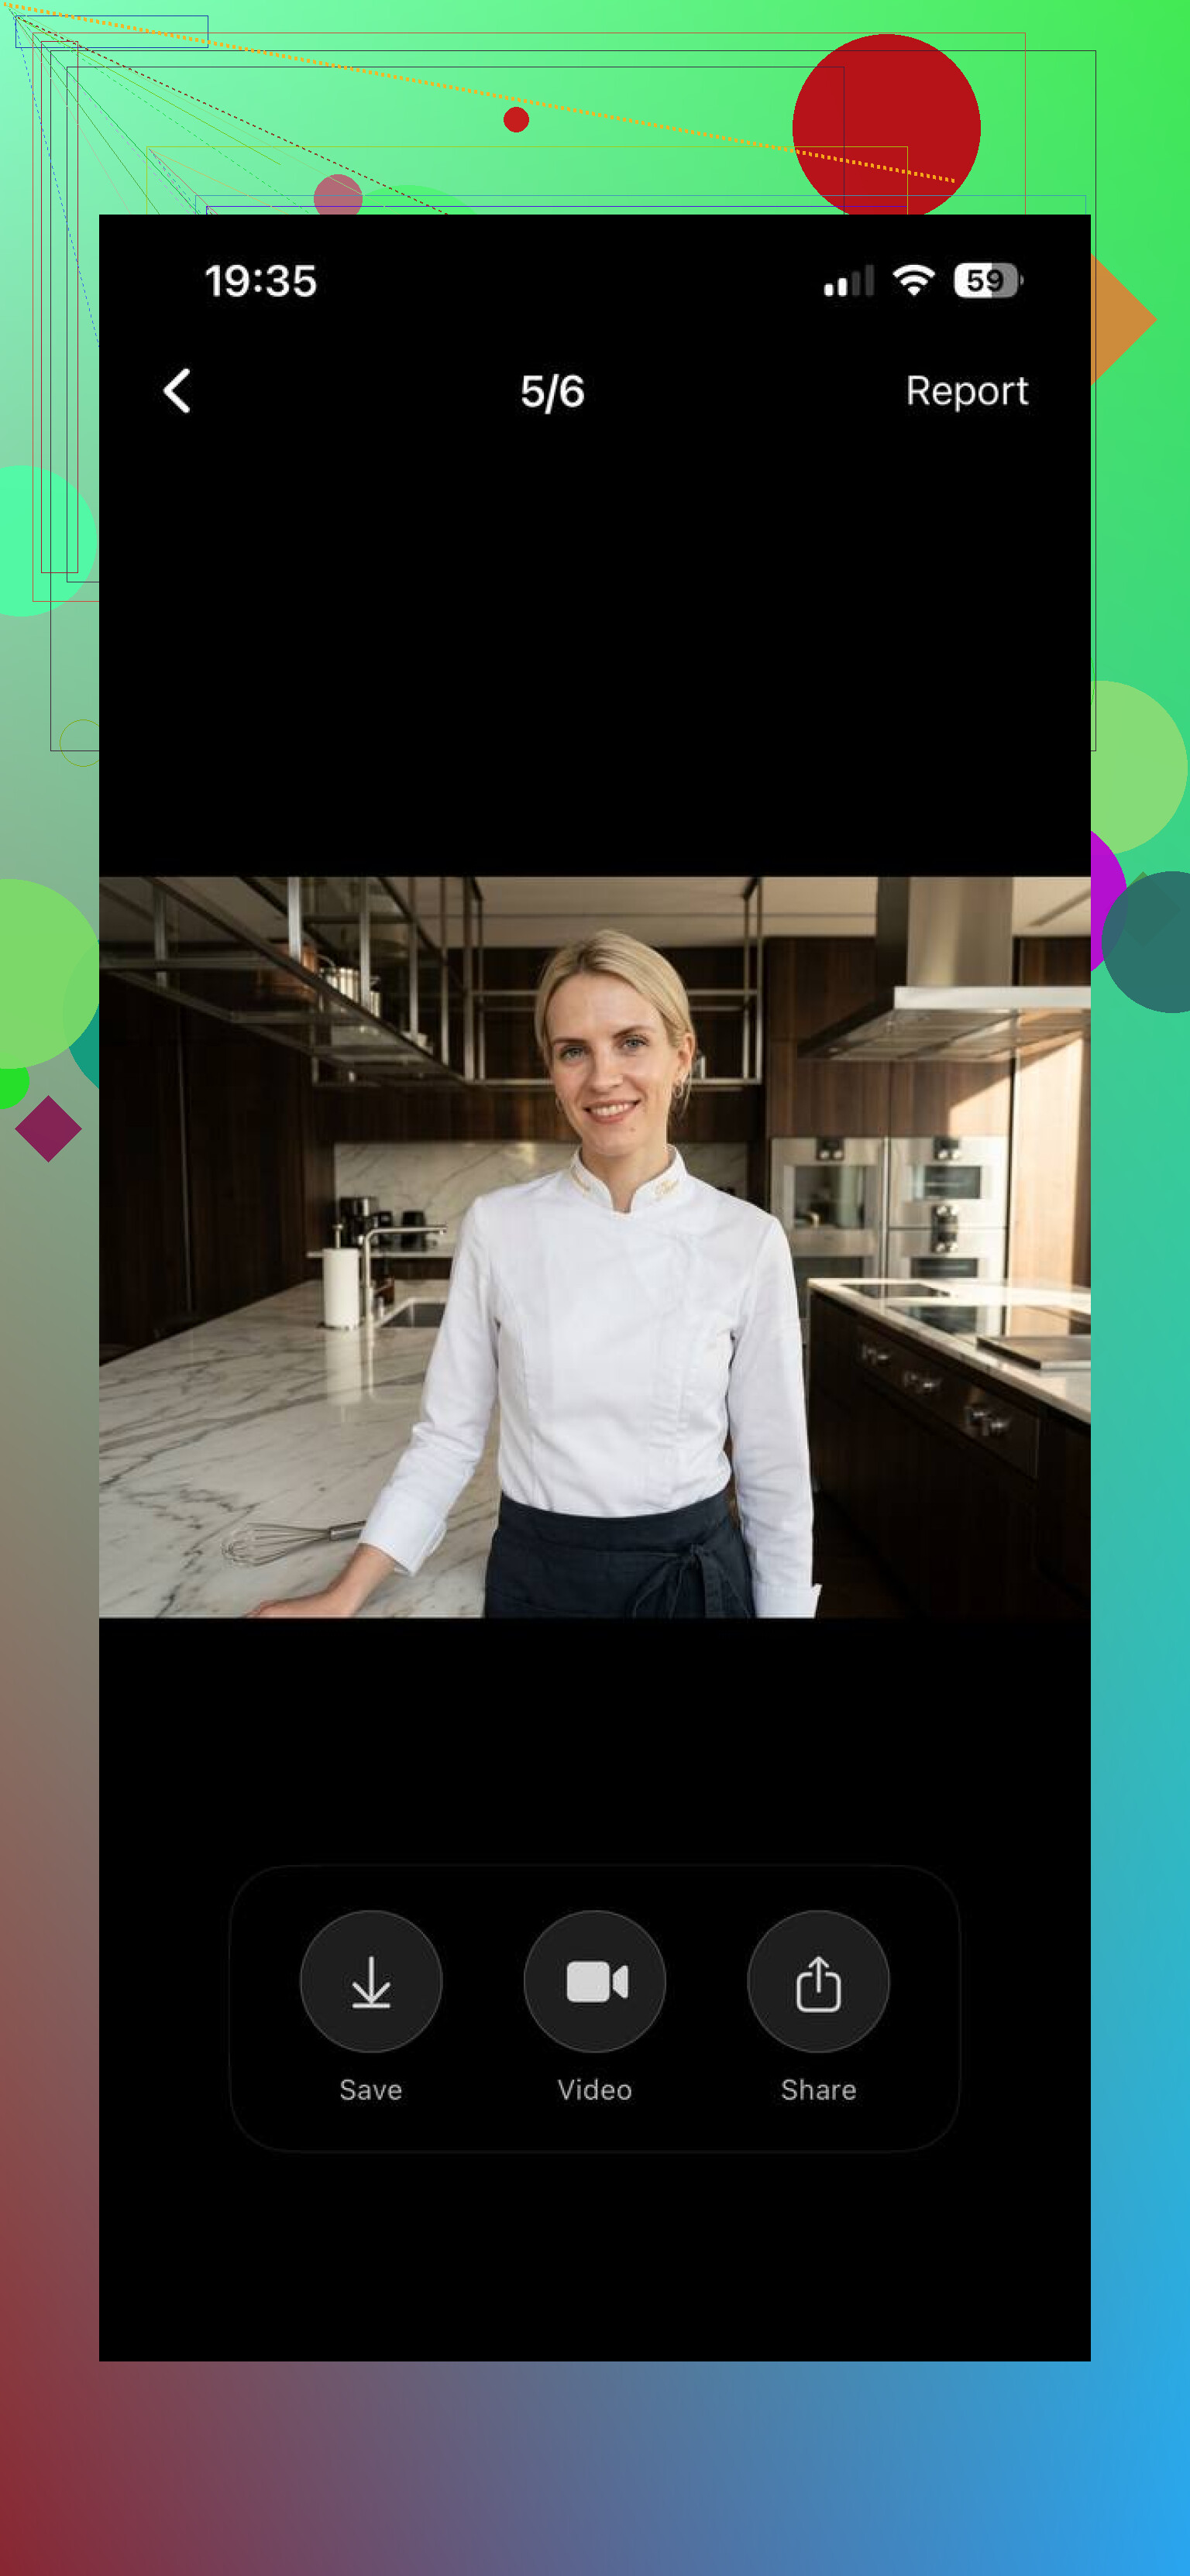
Download and sort your favorites
I went through and deleted:
• Any outputs where my face looked younger by 10 years
• Misaligned eyes or awkward skin texture
• Poses that felt too “stock photo”I kept:
• 1 or 2 per role that I could use across LinkedIn, portfolio, or presentations
• One more playful astronaut shot for non-work use
From upload to final selection, I spent maybe 30 to 40 minutes the first time, then much faster once the face profile existed.
Where it helped vs normal headshot tools
After trying a few other AI headshot sites before, this is where Eltima pulled ahead for me:
• Role-specific outputs
The fact that I could say “doctor” or “chef” and get clothes, environment, and framing in one go made it more useful for content and branding.
• Consistent face across roles
Since everything came from the same face profile, I ended up with a little “set” of photos that looked like one person living multiple careers. For social or a personal site, that gave me more flexibility.
• Less prep on my side
I did not have to look for backgrounds, costumes, or props.
Only decent selfies and some patience.
It is not magic though. A few caveats:
• If your selfies are bad, the outputs will be worse
• Some roles are more polished than others
• You still need to curate, a bunch of generated images will feel off
Where to get it and extra info
Main app link:
Their web page for the headshot tool:
Who this is worth trying for
From my own use, I would say it is worth the time if:
• You want professional-looking headshots but also need themed role images
• You run social accounts or a portfolio and need more variety in a consistent style
• You do not want to deal with a photographer or real outfits for each role
If you only need a single plain LinkedIn headshot, any of the standard AI tools will do.
If you want your face as a doctor on Monday, a chef on Wednesday, and a business analyst on Friday, this one felt more useful.
5 Likes
You are running into three separate problems: likeness, realism, and “career vibe”. Tools solve each part differently.
I like what @mikeappsreviewer said about role packs, but I’d tweak the approach if your main goal is “looks like me and not fake”.
Here is what has worked for people I helped:
-
Start from a real photo, not from zero
AI headshot generators often drift.
Take one clear selfie in window light. Neutral wall. No filters.
Use an editor that supports “generative fill” instead of full face generation.
Examples to check:
• Photoshop with Generative Fill
• Luminar Neo with portrait tools
• Fotor / Pixlr face retouch, not face replaceEdit only background, outfit, and small clean up.
Do not replace your whole head. -
Control the “beauty filter” look
Over-smoothing kills realism.
When you use any AI or retouch tool, dial these down hard:
• Skin smoothing: keep it low, keep pores visible
• Eye sharpening: small bump only
• Teeth whitening: minimal
After export, zoom to 100 percent.
If your skin looks like plastic, redo with lower strength. -
Use AI for outfit and context, not identity
For portfolio and “career” looks, you can fake everything except your face.
Workflow that tends to look more natural:
• Step 1: Use a tool like Remini, Photoroom, or Cleanup.pictures to cut you out or enhance resolution.
• Step 2: Drop that into an AI background tool (Photoroom, Canva AI background) and select “office”, “lab”, “studio”, etc.
• Step 3: For clothes, use a service that swaps outfits on your existing photo, not on a full AI render. Search terms: “AI outfit changer”, “AI clothing swap”.This keeps your expression and proportions consistent.
-
When you use full AI headshot apps
If you still want full generation like Eltima or others, feed the model better data:
• 1 to 3 selfies, same haircut and facial hair
• Neutral expressions, no heavy makeup changes
• No glasses
Delete any training photo that looks off. One bad angle tends to poison the set.After generation, treat outputs as drafts.
Pick 2 or 3 that look most like you.
Then do light manual edits to fix skin, eyes, and color. -
Test realism with people who know you
Quick test that works:
• Send 5 images to a friend.
• Mix 2 real photos and 3 AI edits.
• Ask them which ones look fake without context.
If they spot them instantly, dial the edits down again. -
Specific LinkedIn tweaks
For LinkedIn in particular:
• Slightly brighter exposure than you think
• Simple background, no strong blur
• Small, relaxed smile
• Crop from mid chest upIf you use a role style like “doctor” or “developer”, keep one simple “standard business” shot as the main profile, and use the themed ones in your banner or portfolio.
-
When AI is not working at all
If every output looks off, do this once:
• Find a local photographer who offers “mini headshot session”. Often 15 to 30 min.
• Get 1 clean, high res professional photo.
• Then use AI only to change backgrounds and outfits around that one solid base shot.
That last step sounds boring, but one good base image makes every later AI edit look more real and less plasticky.
You’re not crazy, most AI headshots do look like a wax museum version of you.
Since @mikeappsreviewer covered the “career packs” angle and @kakeru went deep on the light-touch editing route, I’d zig a bit and focus on what to avoid plus a workflow that keeps you looking like… you.
1. Figure out which of these 3 things is failing
When stuff looks “off,” it’s usually one (or more) of:
-
Identity drift
Face looks like your cousin, not you.
Cause: too few / inconsistent training photos, or full-face replacement. -
Plastic filter look
Skin is too smooth, eyes too bright, teeth glow in the dark.
Cause: aggressive “beauty” / “retouch” sliders. -
Context mismatch
The face looks ok but the clothes / background scream stock photo.
Cause: generic “corporate” presets, too stylized lighting, fake bokeh.
Figure out which category your current attempts fall into first. Different fix for each.
2. Slight disagreement with both of them
- I actually wouldn’t start with 12–20 selfies like @mikeappsreviewer unless you really need those role-swapped sets. More photos = more room for the AI to average your face into someone else.
- I also don’t think @kakeru’s “only light edits” approach fully solves the “career vibe” problem if your base photo is in a hoodie in your kitchen.
For most people, the sweet spot is: one or two solid base photos + targeted AI edits, not fifty AI-generated clones.
3. Workflow that keeps your face real but upgrades the “career” signal
Try this path:
-
Get 1 good base photo
- Use your phone, rear camera if possible.
- Window light in front of you, neutral wall behind.
- Wear something close to what you’d actually wear to a serious meeting in your field.
- Slight smile, no extreme angle, nothing artsy.
-
Lock your face, change everything else
Use tools that:- Keep your head/face exactly as shot.
- Only change:
- Background (office, studio, lab)
- Color grading
- Very subtle skin cleanup
Search for:
- “AI background changer”
- “AI backdrop for portraits”
Avoid anything that says “AI avatar” or “AI face generator” for this step.
-
Outfit upgrades with restraint
If your clothes are the weak point:- Try an “AI outfit swap” tool on that same photo.
- Swap hoodie to blazer or smart shirt.
Red flag: if the chin / neck shape changes or the collar clips into your skin, trash that version.
-
Use different versions for different needs
From that one base image, make:- 1 very clean, standard LinkedIn headshot.
- 1 slightly more stylized version for portfolio / about page.
- 1 “role flavored” version that leans into your field
- Developer: subtle techy background, muted tones
- Designer: brighter, more color
- Medical: neutral, super clean, light background
Your face is identical across all three, which solves the “not really like me” problem.
4. Red flags when you review results
If any of these show up, toss the image:
- Your age looks off by more than ~3 years
- Eye color changed or pupils look weirdly sharp
- Hairline moved, or hair texture looks like painted plastic
- Background blur looks like someone smeared vaseline behind you
- Lighting on your face doesn’t match the background
Do a brutal delete pass. Most AI outputs belong in the trash, not “maybe later” folder.
5. Tiny tweaks that help LinkedIn specifically
- Slightly brighter than normal, but not glowing
- Mild contrast, avoid heavy filters
- Crop: mid-chest to top of head, eyes about 1/3 from the top
- Skip ultra shallow depth of field; very soft is fine, extreme blur looks fake
6. When a specialized headshot tool makes sense
If you still want the role-specific stuff like @mikeappsreviewer mentioned (doctor / chef / astronaut vibes etc.), I’d:
- Use those for banners, slide decks, portfolio sections
- Keep your main LinkedIn profile pic as the minimally edited, real-face version
- Treat those role photos more as “branding art” than “this is literally what I look like at work”
The biggest unlock for realism is honestly not a fancy app, it’s deciding that your real face is the non-negotiable part and letting AI mess with everything else. Once you stop letting the tool regenerate your head each time, the “too fake / not me” problem drops like 80%.