My drive suddenly changed to a RAW partition, and now I can’t open it or access my files. I tried running CHKDSK, but it says the file system is RAW and won’t continue. I need help figuring out how to repair the partition or recover the data without making things worse.
I hit this once on an old NTFS drive, and I’d pull the files off first. I would not try to repair the RAW partition as step one.
RAW does not mean your data is wiped. Most times, Windows lost track of the file system because something broke. I’ve seen it after a bad shutdown, yanking a USB drive too fast, weak sectors, a messed up partition table, and one case where nothing obvious happened at all. The partition was NTFS, then Windows stopped reading it right.
CHKDSK refusing to run fits this situation. Windows usually throws, 'The type of the file system is RAW. CHKDSK is not available for RAW drives.' When I see this, I don’t push repairs. I don’t format either. Both moves can make recovery uglier.
The order I’d use is simple:
- Stop writing anything to the drive.
- Recover the important files first.
- Fix, rebuild, or recreate the partition.
- Put the recovered data back after you confirm the drive is usable.
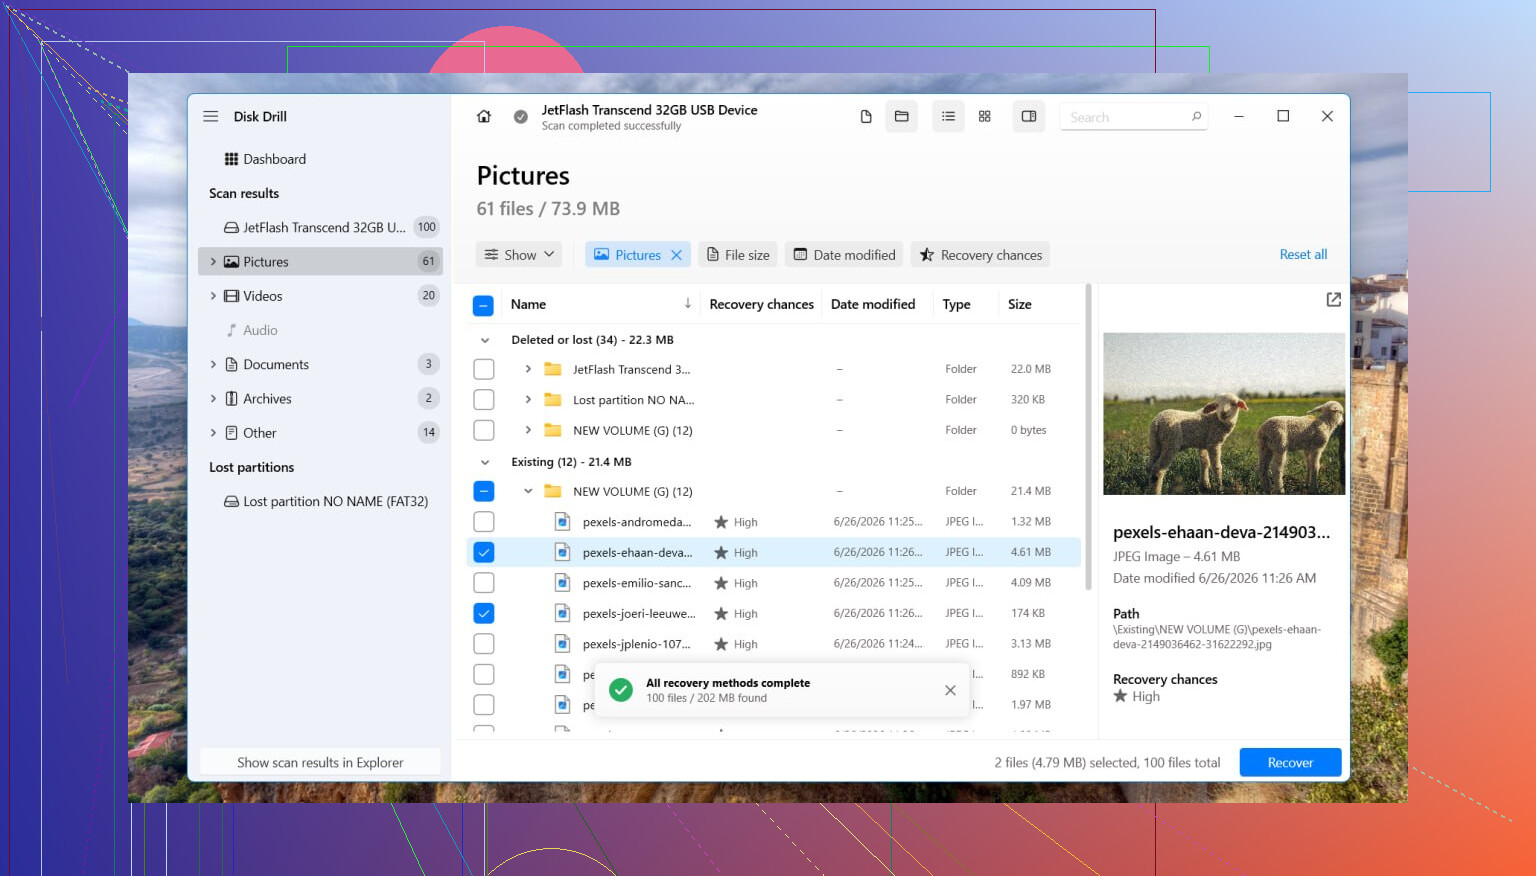
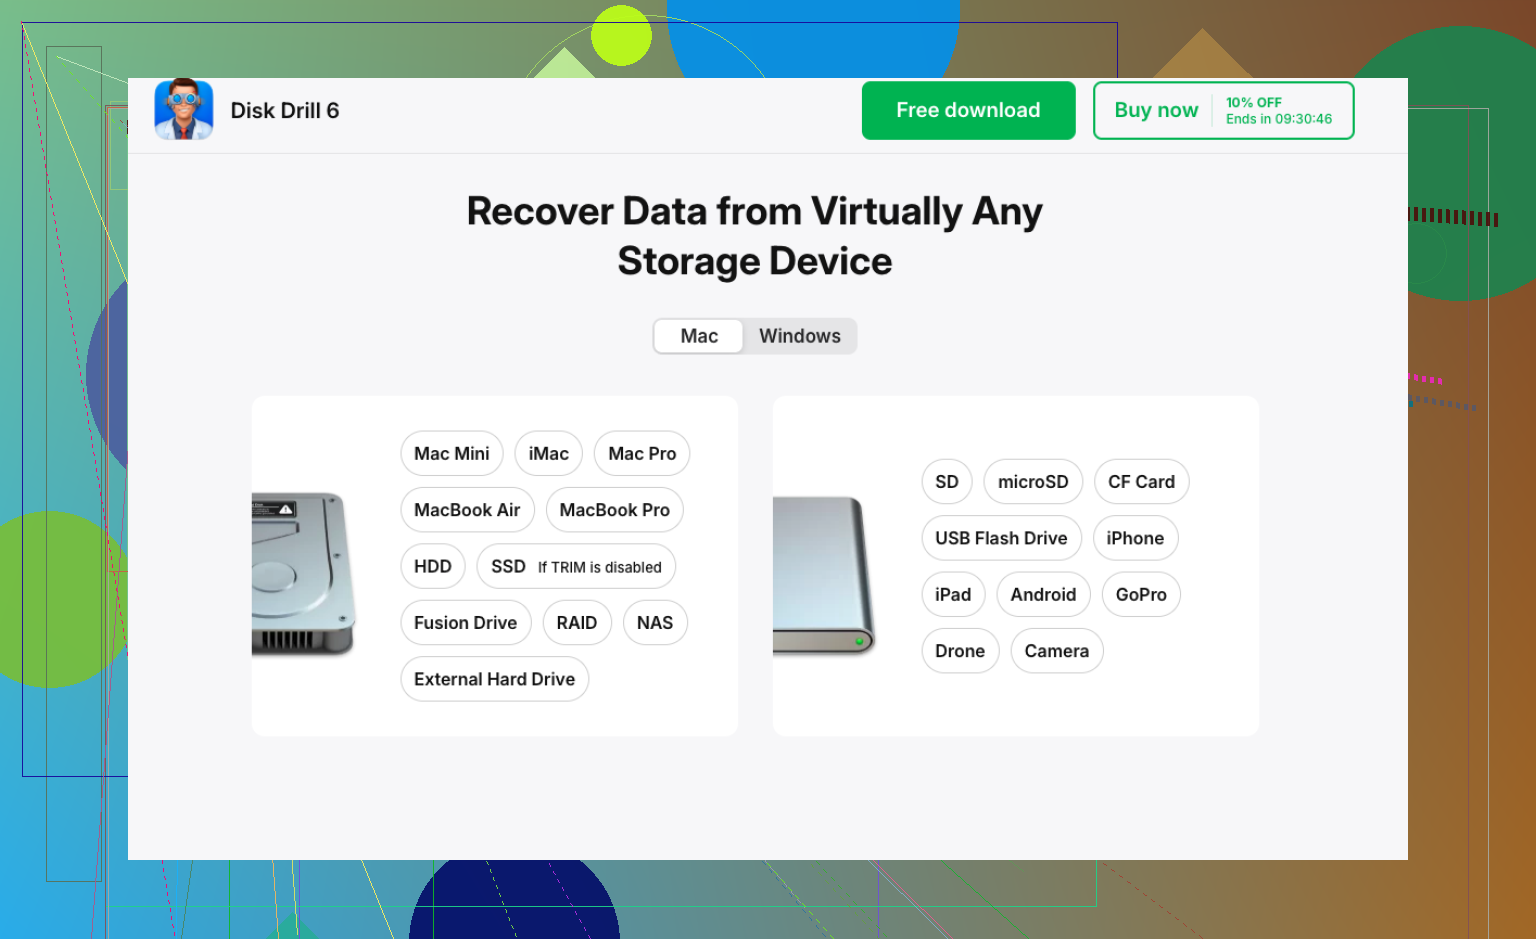
For recovery, I’d go with Disk Drill. I’ve had it pull files from RAW volumes because it reads the disk itself instead of depending on the broken file system metadata.
What I did was this:
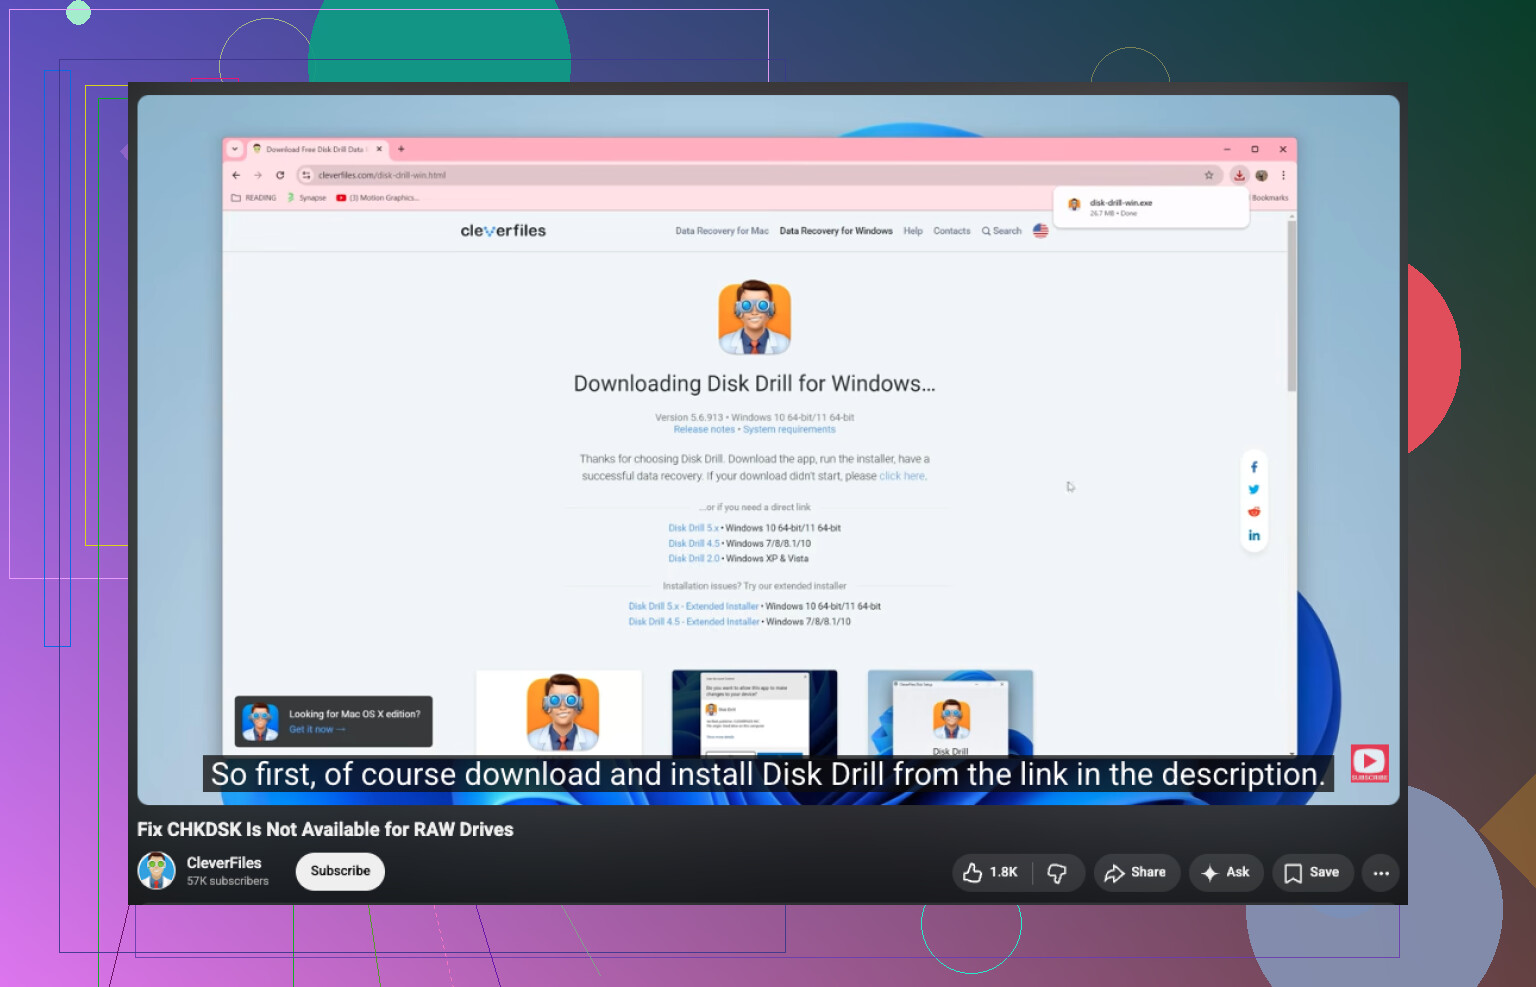
- Installed Disk Drill onto a different disk. Don’t install it onto the RAW one.
- Opened it and picked the affected drive or the RAW partition.
- Clicked Search for Lost Data. On external storage, Disk Drill sometimes asks for a scan type. I’d pick Universal Scan almost every time. I only use Advanced Camera Recovery for chopped up video files from stuff like action cams or drones.
- Let the scan run to completion. It can take a while.
- Opened Review found items and tested a few previews.
- Selected the files I cared about, then hit Recover.
- Saved everything onto another drive, not the problem one.
After you check the recovered files and see they open, then deal with the partition.
If you want to try restoring the original layout, TestDisk is worth trying. I’ve seen it repair a damaged partition table more than once. If it fails, or you don’t care about restoring the old structure, open Disk Management, remove the RAW partition if needed, create a New Simple Volume, do a quick format, then copy your files back.
Small warning from a mistake I made years ago. If this drive is an SSD, don’t leave it sitting around too long while testing random things. TRIM support can wipe deleted blocks over time. RAW status does not always trigger it right away, but extra writes and extra use still hurt your odds.
Different story if the drive keeps vanishing, clicks, grinds, drops mid-scan, or reconnects every few minutes. I’d stop there. Software is not the move when hardware starts acting sick. At that point, a recovery shop is the safer path, esp if the files matter.
3 Likes
Yes, but I would split “fix” into two paths.
Path 1, save the data.
Path 2, repair the partition.
I partly agree with @mikeappsreviewer. Recover first is the safer move. Where I differ is this, if the drive is stable and the files are not irreplaceable, I’d check the partition structure before doing a full file recovery scan. A broken boot sector or lost partition entry is often faster to fix than pulling 500 GB of loose files with no folder tree.
Do these checks first.
-
Open Disk Management.
See if the drive shows the right size.
If size looks wrong, suspect partition table damage.
If size looks right but file system says RAW, suspect NTFS boot sector or MFT damage. -
Check SMART health with CrystalDiskInfo or the drive maker’s tool.
If you see reallocated sectors, pending sectors, or CRC errors climbing, stop messing with it. Clone it first. -
If it’s an external drive, swap cable, port, and power source.
I’ve seen bad USB bridges make healthy NTFS volumes show up RAW. Super annyoing, but it happens.
If the disk health looks decent, try TestDisk before formatting. It sometimes restores the partition record or NTFS boot sector cleanly. If TestDisk reports both NTFS boot sectors are bad, stop and switch to recovery.
For recovery, Disk Drill is a solid pick because it reads past the damaged file system and often preserves filenames better than some free tools. Install it on another disk. Recover to another disk too.
After your files are safe, wipe and recreate the volume. Full format is better than quick format if you suspect media errors, because it forces a sector check. On a big healthy SSD, I’d do quick format instead.
For search intent, the issue is best phrased like this:
How to fix “CHKDSK is not available for RAW drives” and repair a RAW partition in Windows.
If you want a visual walkthrough, this helps:
watch how to fix a RAW drive when CHKDSK won’t run
If the drive clicks, disconnects, or freezes File Explorer, stop. At tht point, software repair is the wrong move.
Yep, sometimes. But not with CHKDSK, because CHKDSK only works when Windows can still recognize a real file system. RAW basically means Windows sees the partition, but not the structure it needs.
I’m with @mikeappsreviewer on one thing: don’t format first. I slightly disagree with @caminantenocturno on trying too many repair tricks early, though. If the files matter, every “maybe this will fix it” attempt is a gamble.
What I’d do different:
- Check Event Viewer and SMART before anything else
- If SMART looks bad, make a sector-by-sector clone first
- Work on the clone, not the original
- Then recover data with Disk Drill or test partition repair tools
Cloning matters because a flaky drive can get worse fast. Macrium, HDDSuperClone, or ddrescue are better first moves than poking the sick disk over and over. A lot of ppl skip this and regret it.
If the drive is stable, Disk Drill is a solid choice for RAW drive recovery because it can scan the partition directly and pull files without relying on CHKDSK. After recovery, delete the RAW volume, recreate it, and format NTFS or exFAT.
One more thing, if this happened on an external HDD enclosure, the enclosure itself can be the problme, not the disk. I’ve seen that more than once.
Also useful reading here: see how others handled a RAW external hard drive
I’d split this a bit differently from @caminantenocturno, @hoshikuzu, and @mikeappsreviewer.
If the drive is still mounting consistently and not making weird noises, I would first check whether the volume is simply missing a drive letter or has a damaged NTFS backup boot sector. That is one of the few cases where a RAW partition is more “logic broken” than “data gone.” You can inspect that with diskpart, mountvol, or a partition editor before jumping straight into repairs.
One thing I would not do is run random “RAW to NTFS converter” tools. Most are just wrappers around formatting or risky metadata edits.
My order:
- Check SMART and connection stability.
- See if the partition boundaries still look normal.
- If the data matters, image the disk first.
- Try read-only inspection tools.
- Recover files.
- Only then rebuild the file system.
For recovery, Disk Drill is reasonable here.
Pros
- Good at scanning RAW partitions
- Usually easy to preview files
- Handles common file systems well
Cons
- Deep scans can be slow
- Recovery quality depends heavily on drive condition
- Less ideal than cloning first if the disk is physically unstable
If Disk Drill finds your folder structure, great. If it only finds carved files with generic names, that usually means heavier metadata damage.
Then after recovery, wipe the partition table, recreate the volume, and full test the disk. If it turns RAW again after that, stop trusting the drive.