I accidentally emptied the Trash on my MacBook Pro and realized some important files were still in it. I need help figuring out the first recovery steps to avoid making things worse and to see if there’s any way to restore deleted files on macOS.
I’ve seen this happen more than once. You empty Trash, then your stomach drops. First move, stop using the MacBook right away. Don’t save files. Don’t install apps. Don’t keep poking around. I did once, and it made the outcome worse.
What changed after you emptied Trash was mostly the file map. macOS removed the pointers and marked the space as free. The data itself often stays on the drive for a while, until new writes land on top of it. So if you keep using the laptop, you raise the odds of wiping out the same files you want back.
There’s another problem on newer MacBooks. SSDs use TRIM. It clears deleted blocks in the background so the drive stays fast. Good for performance, bad for recovery. On some systems it kicks in fast enough where waiting hurts your chances. I’d treat it like a race and keep the machine idle.
Most people don’t have backups ready. Fair enough. Start with the path I’d try first.
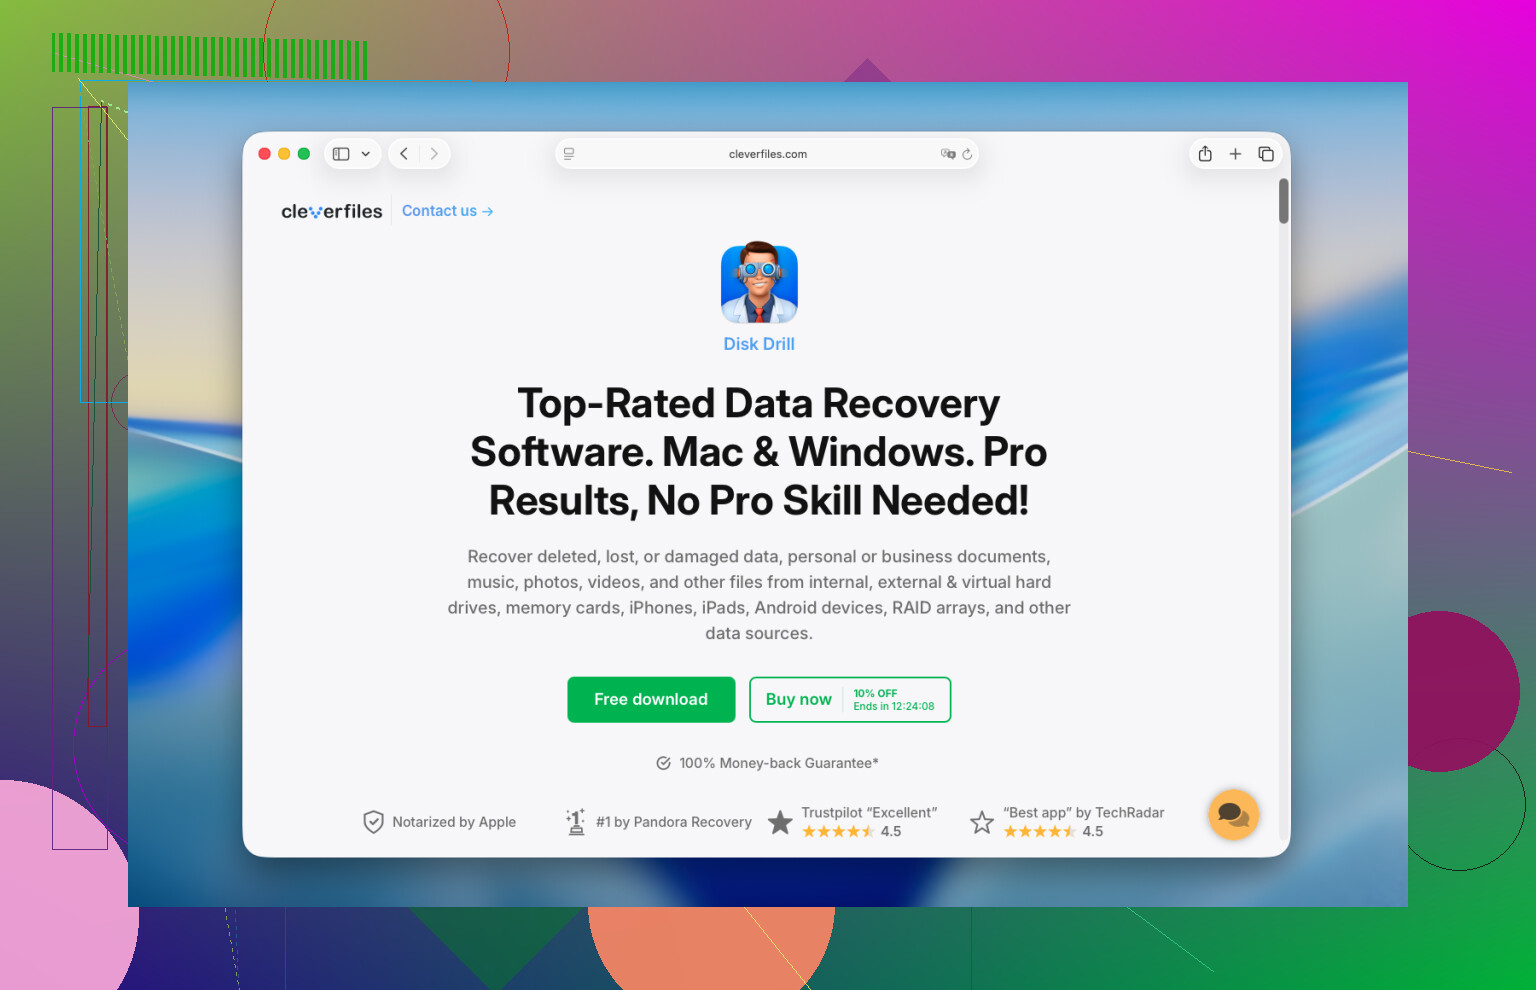
Run a recovery app fast. I usually point people to Disk Drill. On newer Macs, especially Apple Silicon models like M1, M2, M3, M4, plus Intel Macs with the T2 chip, recovery gets messy because the internal storage is locked down and encrypted hard. A lot of random recovery apps don’t handle this well. Disk Drill is one of the few I’ve seen work decently in those cases.
- Don’t install Disk Drill on the MacBook you’re trying to save. This part matters most. Installing software writes to disk. You don’t want new data landing on deleted file space. Use another computer instead, put Disk Drill on a USB drive, and launch it from there.
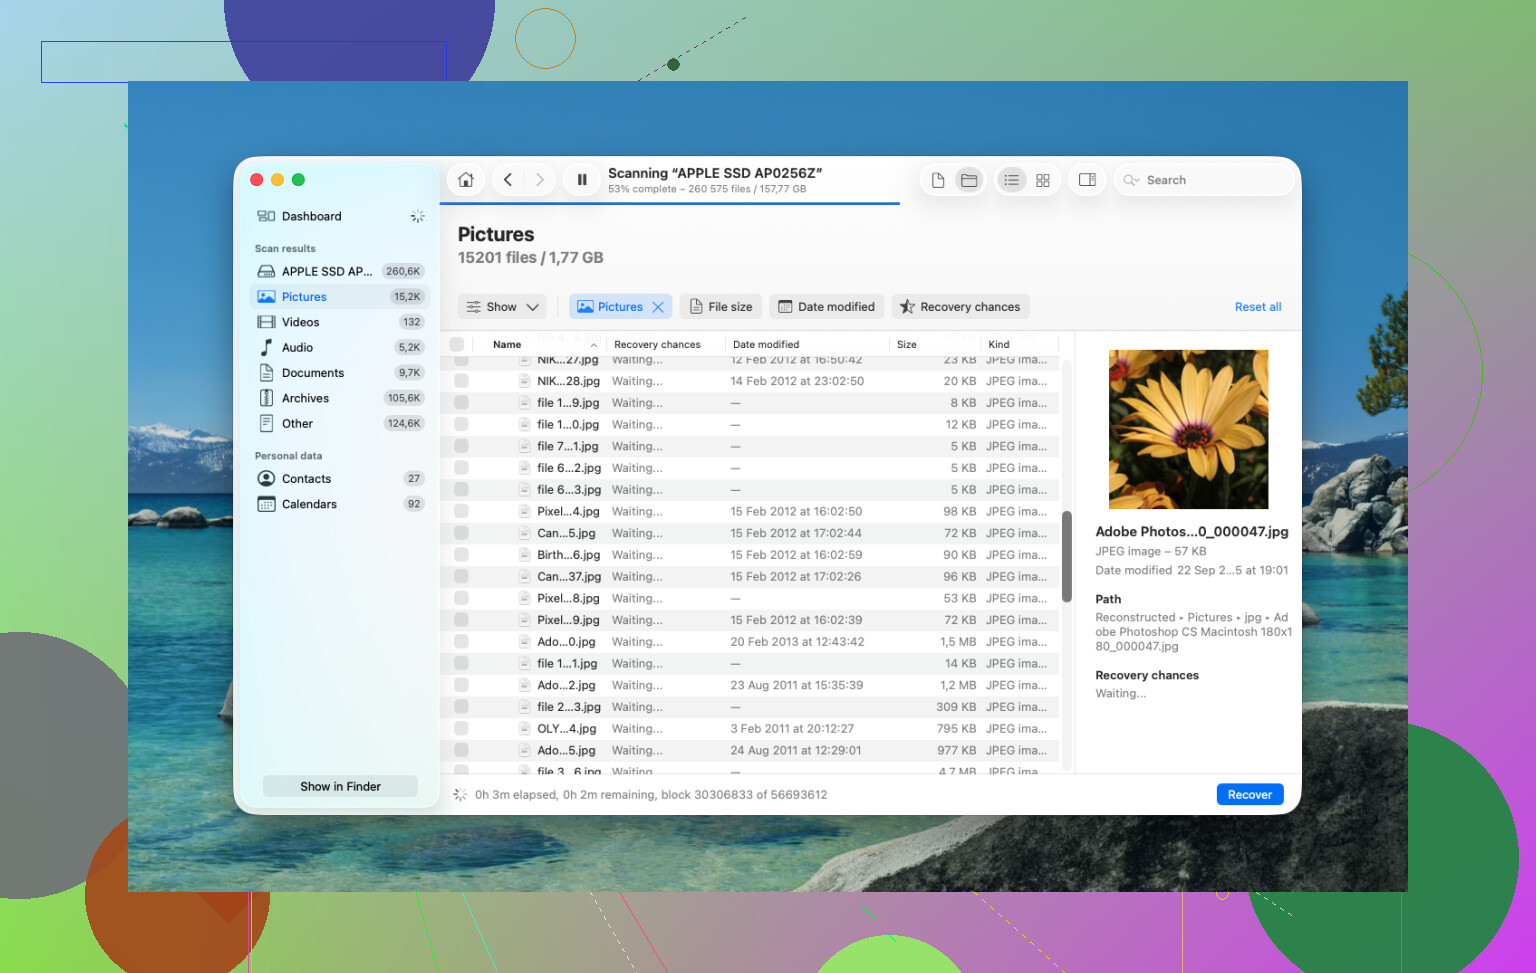
- Make a disk image first. I know people skip this. I wouldn’t. Disk Drill lets you copy the drive sector by sector into an image file on an external disk. If your first recovery pass misses stuff, you still have a frozen copy to scan again. You avoid hitting the original drive over and over. That saved me once.
- Run a Universal Scan. Aim it at the internal drive, or better, the image you made. Let it crawl the raw storage and pull up whatever still has recoverable structure.
- Check the preview before paying. The scan is free. You get to preview what it found, photos, docs, videos, all of it. If the files open and look intact, then you know whether paying for recovery is worth it.
- Restore files to an external drive. Don’t write recovered data back to the MacBook’s internal storage. Send it to a USB drive or external SSD.
After that, I’d still check the obvious places, because sometimes the files are sitting there and people miss them.
Time Machine. If you ever turned it on, open Time Machine and go to the folder where the files used to live. macOS sometimes keeps local snapshots from the past 24 hours even without the backup drive connected. It’s hit or miss, but worth the two minutes.
Cloud services. If those files were synced with iCloud Drive, Dropbox, or Google Drive, stop using the Mac and check from your phone or another device. Each service has its own deleted-items area, separate from Mac Trash. In a lot of cases files sit there for up to 30 days.
Photos and Notes. If what you lost was pictures or notes, open those apps and look inside their own Recently Deleted folders. Apple keeps deleted items there for around 30 to 40 days. I’ve seen people think stuff was gone for good when it was still sitting there the whole time.
If none of this works, the last stop is a recovery lab. They use hardware tools and controlled environments, and they don’t rely on macOS behaving nicely. It works better for serious cases, but the price gets ugly fast, usually somewhere around $300 to $3,000. I’d only go there for files you can’t replace at all.
14 Likes
First thing, shut it down or leave it idle. I agree with @mikeappsreviewer on the “stop writing to the drive” part. That matters most.
Where I differ a bit is this. Before you jump into full recovery scans, check whether the files were never only in Trash to begin with. A lot of people forget apps keep their own copies or histories.
Try these first, from another device if possble.
-
Check the app you created the file in.
Pages, Word, Excel, Preview, Pixelmator, Adobe apps, and many others keep AutoSave versions, temp files, or a recent items list. Open the app and look for Open Recent, Recovered Files, AutoRecovery, or version history. Microsoft Office, for example, often stores AutoRecovery files separately. -
Check iCloud.com, Dropbox.com, Google Drive web trash.
Do this in a browser on another device if you have one. Web trash folders often keep deleted files for 30 days. If Desktop and Documents sync was on, your missing file might still be there even if Mac Trash is empty. -
Check APFS snapshots from Terminal.
This is the one people skip. On macOS, local snapshots sometimes exist even when Time Machine is not plugged in. Open Terminal and run:
tmutil listlocalsnapshots /
If you see entries, there is a path to restore older versions of files or the whole volume state. Not fun, but worth a look. -
If the files matter a lot, make the Mac read-only for now.
Boot into macOS Recovery or Target Disk Mode and work from another Mac if you have access. Fewer background writes. Better odds. -
If you move to software recovery, use Disk Drill, but recover to an external drive only.
I would not keep rebooting and poking around first. Every login writes stuff.
Also, this video is a decent walkthrough for Mac file recovery steps:
watch this Mac file recovery guide on YouTube
If the MacBook has an internal SSD with TRIM, the clock is ticking a bit. So less clicking around, more checking backups, app histories, snapshots, then Disk Drill.
First thing? Disconnect it from the internet, quit messing with it, and if the files are truly important, power it off. I know @mikeappsreviewer and @sternenwanderer already covered the obvious recovery lanes, but one thing I’d add is this: background sync can make a bad situation worse. iCloud Drive, Dropbox, OneDrive, even Photos can propagate deletions or write fresh metadata while you’re trying to save stuff. People forget that part allll the time.
A couple extra checks I’d do before going full caveman on recovery:
- Look in email attachments or Messages if the file was ever sent/shared
- Check Recents in Finder from another synced Mac if you have one
- Search Spotlight on another Apple device signed into the same account
- If it was an edited file, check whether the app saved an export somewhere else with a slightly different name
I slightly disagree with the “scan immediately no matter what” approach in one case: if the files are in iCloud/Dropbox web trash, that’s safer and faster than hammering the disk with scans. Check that first from another device. Then move to recovery software.
If you do need software recovery on Mac, Disk Drill is probly the most practical option people actually use. Just don’t recover back onto the internal drive. External only.
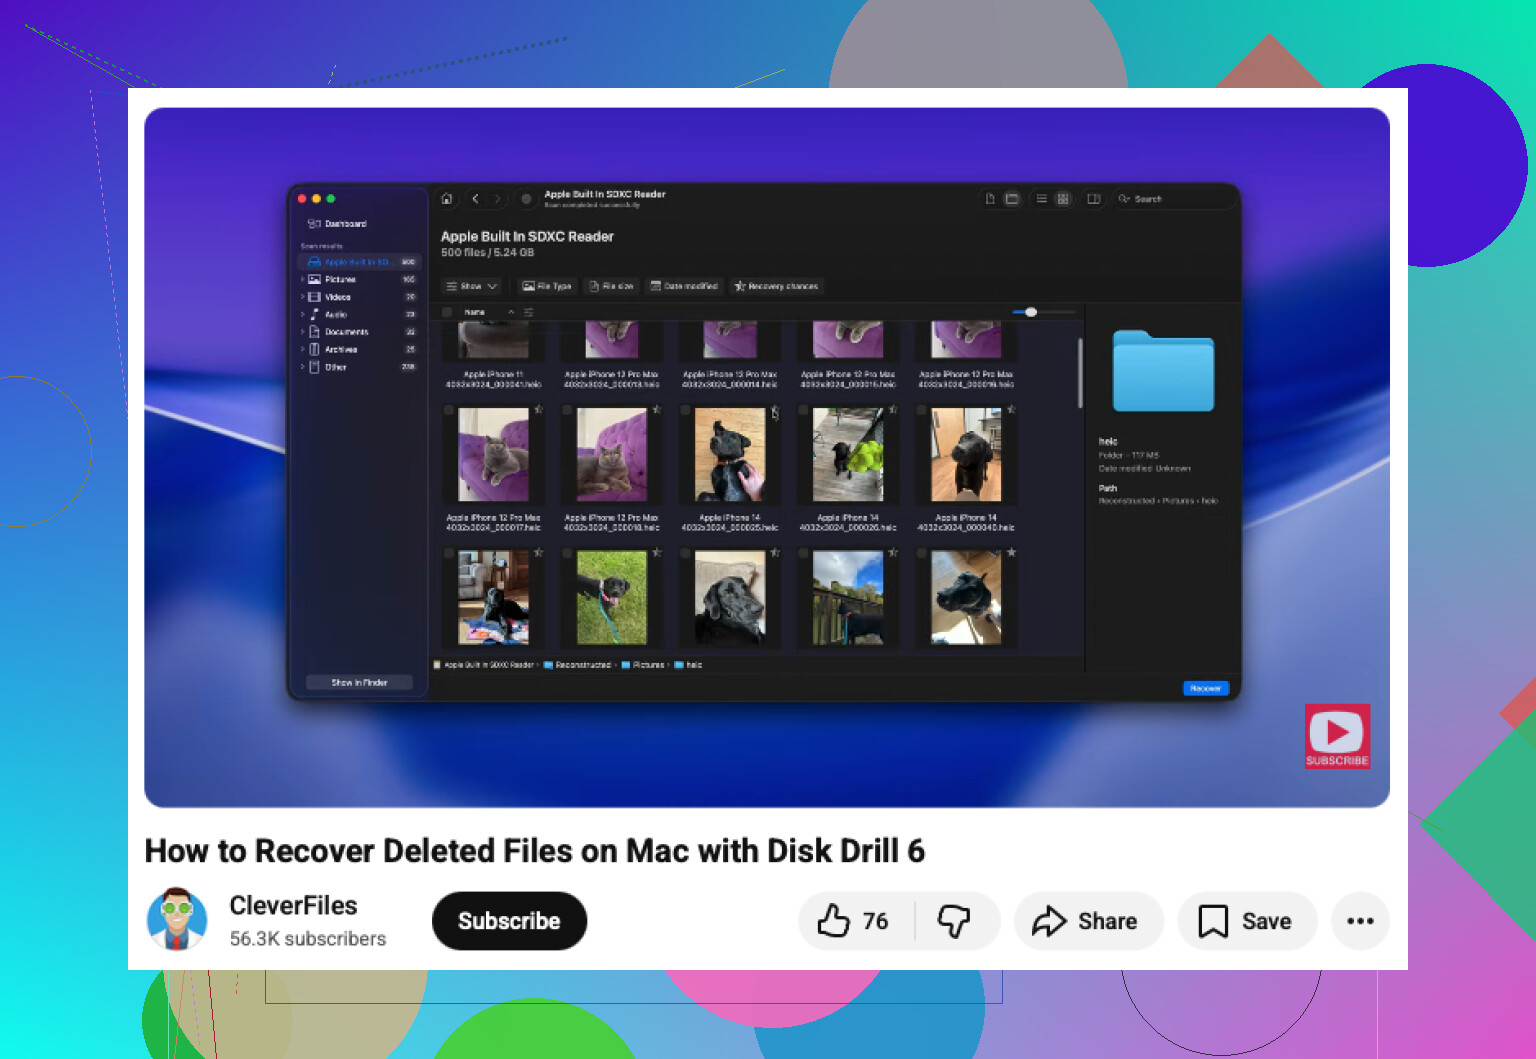
Also, if you want a quick visual walkthrough, this is a decent Mac deleted file recovery tutorial.
If nothing turns up and it’s an internal SSD MacBook Pro, be realistic: TRIM can make recovery kinda brutal. At that point, stop experimenting and decide whether the files are worth a pro recovery lab.