I accidentally emptied my Windows Recycle Bin and realized some important files were still in it. I haven’t saved much since then, but I’m not sure what recovery options are safe or effective. What’s the best way to recover deleted files after the Recycle Bin is emptied?
If you emptied the Recycle Bin by mistake, the first thing to do is stop writing new data to that drive. Deleted files are often not wiped right away. Windows usually just marks that space as free, so the file can still be recoverable until something else gets saved over it.
Before doing anything more complicated, open the Recycle Bin one more time and check carefully. If the file was inside a folder you deleted, you might need to restore the whole folder. Right-click the file or folder and choose Restore, and Windows should put it back where it originally was.
If it really is gone from the Recycle Bin, avoid using that drive as much as you can. Don’t install recovery tools on it, don’t download random stuff, and don’t keep saving documents there. Even normal browsing can create new files in the background, which can lower your chances of getting the deleted file back.
Next, check for backups or previous versions. Go to the folder where the file used to be, right-click inside the folder, and choose Restore previous versions. If Windows has an older copy available, open a version from before the deletion and copy the file somewhere safe.
You can also check File History here:
Control Panel > System and Security > File History > Restore personal files
That lets you browse older backed-up versions of common folders like Documents, Pictures, Desktop, and similar locations.
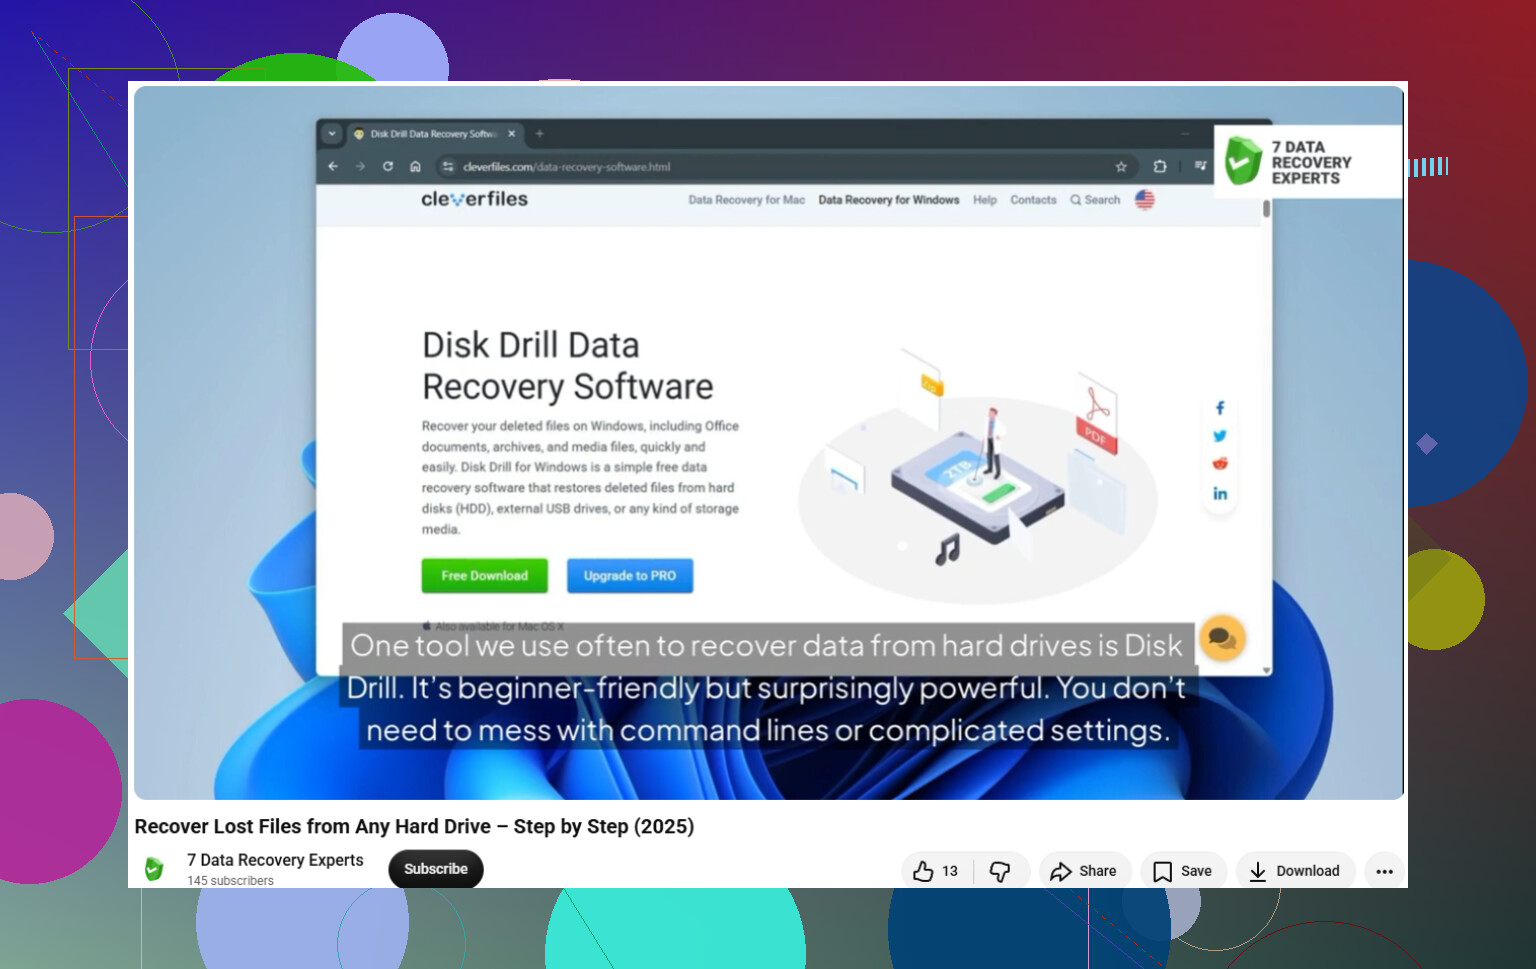
If there’s no backup, recovery software is usually the next thing to try. Disk Drill is one option that can scan NTFS, FAT32, and other file systems for deleted documents, photos, videos, and other file types.
If you use recovery software, install it somewhere other than the drive you’re trying to recover from. So if the deleted file was on C:, install the program on another internal drive, an external drive, or some other separate storage device.
Then open the program, pick the affected drive, and choose Search for lost data. Let the scan finish. A deep scan may find files even when the original folder names or filenames are missing.
Preview anything important before recovering it, if the software allows that. If a file previews correctly, that’s a good sign it’s still readable, though it still doesn’t guarantee the recovered copy will be perfect.
When you recover the files, save them to a different drive. Don’t restore them back onto the same drive you’re scanning, because that can overwrite other deleted data that might still be recoverable.
The Windows version may include a limited amount of free recovery, which might be enough if you only need a few small files. Check the current license terms before you start so you know what’s included.
One extra thing to keep in mind: SSD recovery can be harder because of TRIM. Once TRIM clears deleted blocks, the original data may no longer be available. That’s why it’s better to stop using the computer and start the recovery process as soon as possible.
12 Likes
Check any cloud backup or sync trash before you start scanning the drive. If the files were in Desktop, Documents, Pictures, or a folder tied to OneDrive, Dropbox, Google Drive, etc., the cloud service may have its own recycle bin or version history even after the Windows Recycle Bin is empty. That route is usually safer than recovery software because you are restoring a normal saved copy, not trying to rebuild deleted data from disk space that may already be partly overwritten. If that turns up nothing, then I’d follow the advice above and scan from another drive, but I’d look at the synced/web versions first.
Restoring the Recycle Bin itself is usually not the recovery method after it has been emptied. Once it is empty, Windows is no longer holding a normal “undo” copy there. At that point you are trying to recover deleted data from the drive, or you are restoring from some other backup source.
The earlier advice about not writing to the drive is the big one, but I’d be stricter about it. If the missing files were on C:, don’t keep using that Windows install while you decide what to do. Shut it down if the files matter. Booting, updates, browser cache, thumbnails, antivirus scans, and temp files can all write to C: without you saving anything on purpose.
A detail people miss: do not run cleanup tools, defrag, “optimize drive,” CHKDSK repairs, or random registry/system repair utilities first. They can make things worse for deleted-file recovery. System Restore is not a file recovery feature either. It may roll back system files and settings, but it is not the tool I’d trust for getting deleted personal documents back.
If this is an external hard drive or a second internal hard drive, your chances are usually better than if it was the main Windows SSD. With a spinning hard drive, deleted files may sit there untouched for a while. With an SSD, TRIM can make recovery basically impossible even if you act fast. That does not mean “don’t try,” but it does mean you should keep expectations realistic.
For anything very important, the safest route is to make a sector-by-sector image of the drive first and scan the image, not the original disk. That sounds more technical, but it prevents the recovery attempt from hammering the only copy of the remaining data. If the drive is failing, clicking, disconnecting, or showing read errors, stop and consider a recovery shop instead of software.
If the files are only moderately important, then yes, recovery software is reasonable. Disk Drill, R-Studio, DMDE, Recuva, PhotoRec, etc. all work on the same basic idea: scan for deleted records or file signatures and copy whatever is still readable. The key rule is the same no matter which program you use: install it somewhere else and recover the files somewhere else. Never save recovered files back onto the drive you are scanning.
A cheaper first pass is checking built-in or existing backup places before paying for anything:
Control Panel/File History
OneDrive/Dropbox/Google Drive web trash
Windows Backup if you had it enabled
The original app’s autosave or recent files folder
Email attachments or sent copies
Phone/camera memory card if the files were photos
External backup drives you may have forgotten about
For recovery software results, don’t assume a found filename means the file is good. Preview it if the tool allows it. For documents, open a copy from a different drive. For photos or videos, check more than the thumbnail. Some recovered files look fine in the list but are partly overwritten.
If these were on an HDD and you want a basic walkthrough, this may be relevant:
My order would be: stop using the affected drive, check cloud/backups from another device, then scan from a separate drive, and only then think about paid recovery or a lab. The mistake most people make is trying ten “quick fixes” on the same Windows install before doing the actual recovery scan.
Don’t install five different recovery apps and run them one after another on the same drive. Pick one approach first, preferably from a USB/external drive, and if you try Disk Drill or any similar tool, recover to another disk only because the “recovered” copy can overwrite the next file you were hoping to save.