My iPhone storage is almost full, mostly because of photos and videos, but I don’t want to use iCloud Photos or pay for extra iCloud storage. I’m trying to safely delete duplicates, move pictures to a computer or external drive, and free up space without losing anything important. What’s the best way to clean up iPhone photos without iCloud?
The biggest thing I learned is that cleaning a huge photo library by hand is a trap. I had around 45,000 photos and thought I could just sit down for one night and knock it out. After about eight hours, I was still scrolling, still comparing the same-looking shots, and barely deleting anything. At some point your brain just stops caring which version of the photo is “best.”
What worked better was treating different types of clutter differently instead of trying to review the whole library from start to finish.
Use Photos for the easy stuff
For basic cleanup, the regular Photos app is still fine. The selection gestures are way faster than tapping one photo at a time, especially if you’re dealing with screenshots or some obvious junk album. If an album gives you a Select All option, use it. That can save a ridiculous amount of time.
I also found it easier to go album by album instead of scrolling through the full library by date. The full timeline gets overwhelming fast.
Don’t manually compare similar photos
This was the part that wasted the most time for me. Photos can help with exact duplicates, but exact duplicates weren’t really the problem. My storage was full of stuff like five versions of the same dinner photo, a bunch of concert shots that looked almost the same, accidental bursts, Live Photos, screenshots, and big videos I forgot existed.
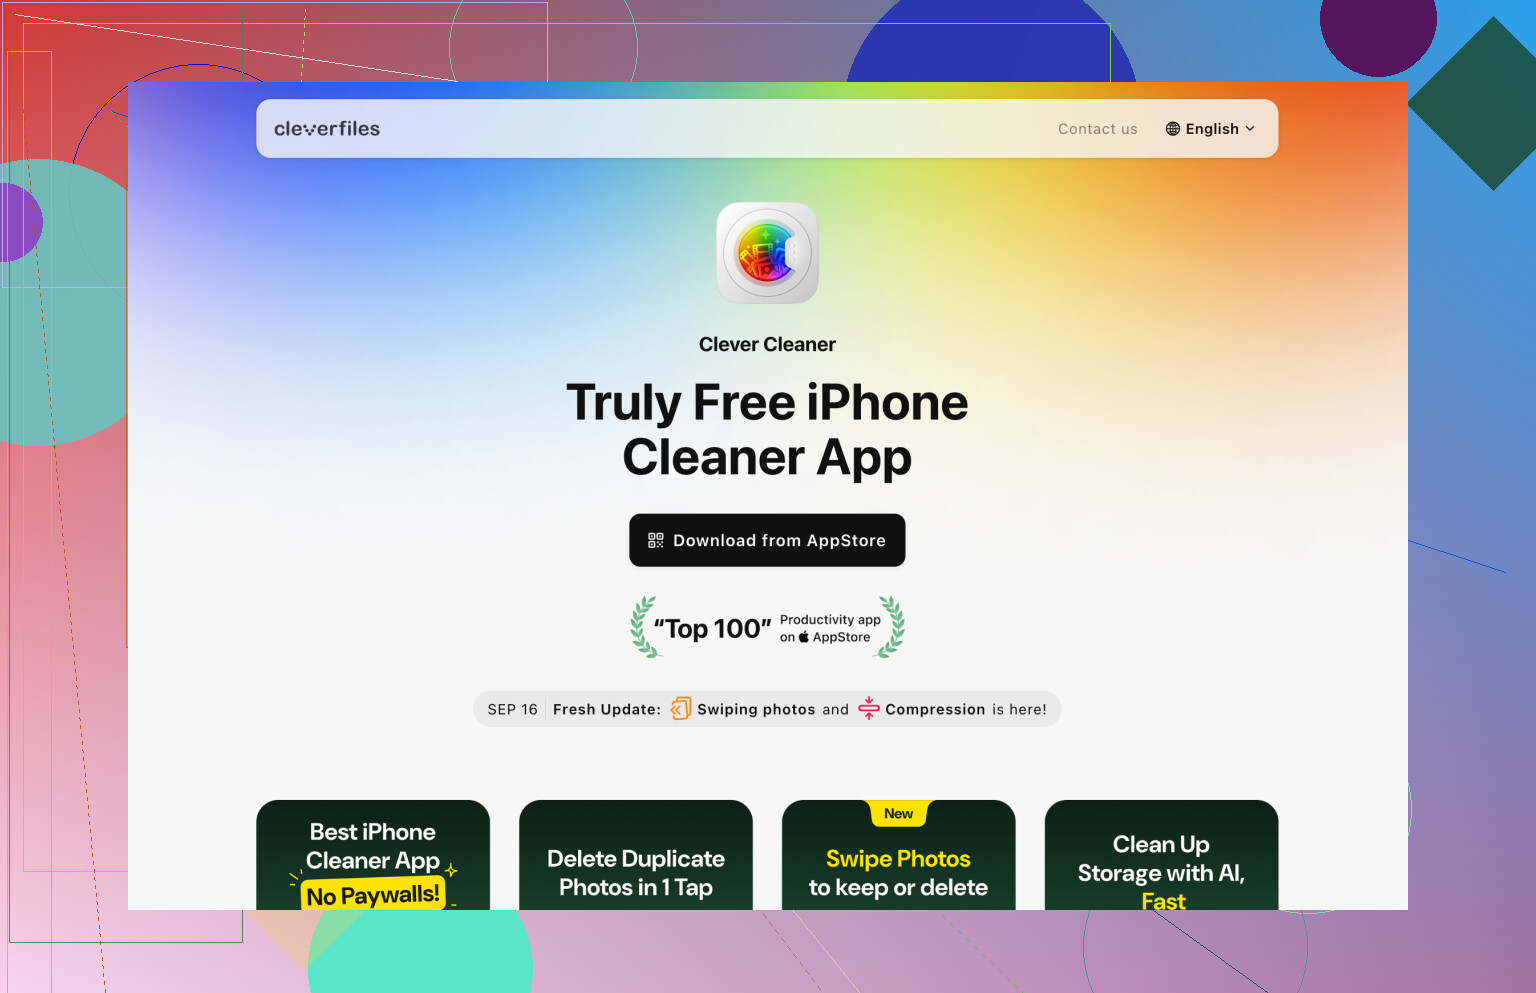
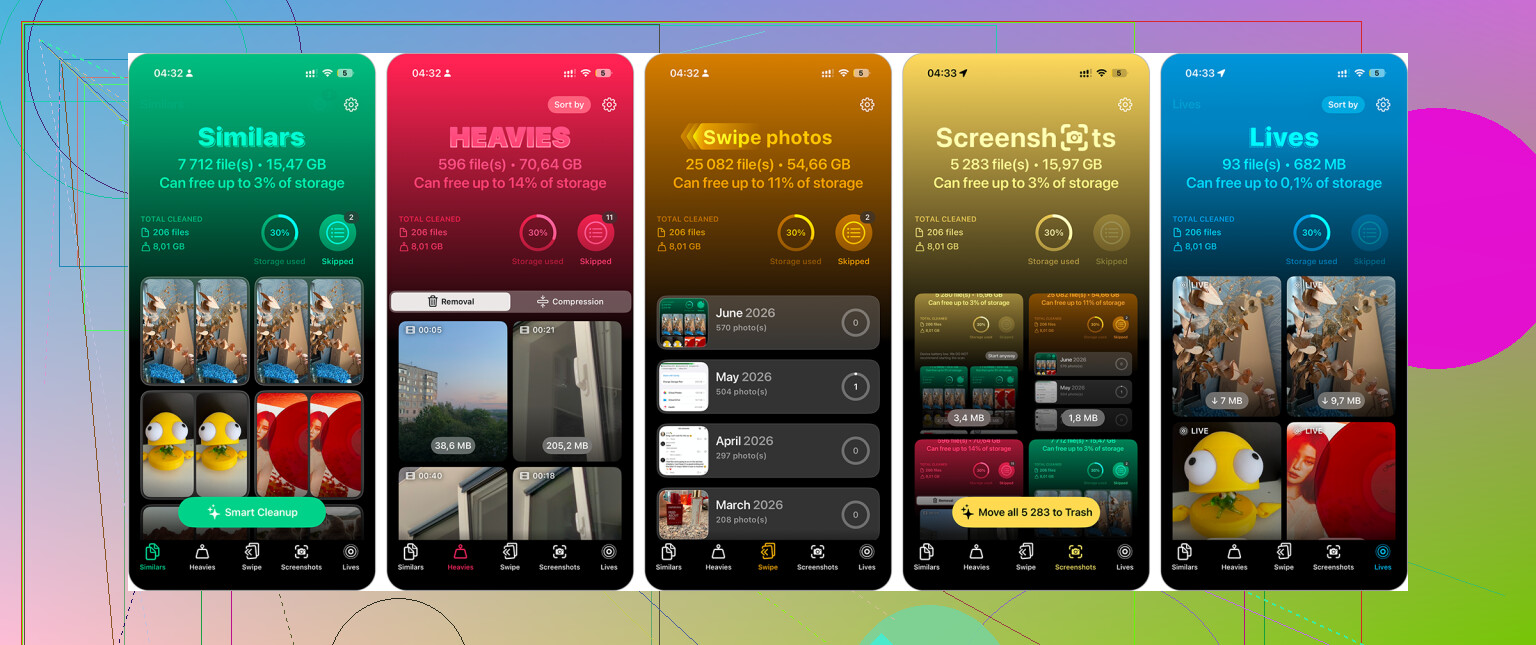
For that, I used Clever Cleaner. The useful part was that it grouped similar photos together, so I wasn’t hunting through the library trying to compare everything myself. It also pulled out screenshots, found large videos, and gave me the option to turn some Live Photos into normal still images when that made sense.
Reviewing pre-grouped sets was a lot less painful than making the same tiny decision hundreds of times. It easily cut the cleanup time by more than half for me.
Pay attention to iCloud and file size
If you’re using iCloud Photos, remember that you’re cleaning one synced library. If you delete something from your iPhone, it also disappears from iCloud and from your other Apple devices connected to that same photo library. That’s usually the goal, but it’s worth keeping in mind before you delete a massive batch.
Also, storage may not drop right away after deleting a lot. Check Recently Deleted. Those files still count until you empty that album or the retention period runs out.
The other thing that made a bigger difference than I expected was sorting the problem by file size, not just photo count. Deleting hundreds of screenshots barely moved the needle. Deleting a few old 4K videos gave back a huge amount of space.
So I’d focus on the big stuff first:
- old videos
- screen recordings
That had way more impact than randomly deleting normal photos across the library.
Now I try not to let it pile up. Every week or two, I spend maybe ten minutes clearing recent screenshots, blurry shots, and obvious duplicates. It’s much easier than waiting until storage is full and losing a whole weekend to cleanup.
So yeah, there are definitely faster ways than just scrolling forever. I’d use Photos for the obvious deletes, use Clever Cleaner for duplicates, similar shots, screenshots, Live Photos, and large videos, then empty Recently Deleted afterward. That workflow has been much less annoying than doing it all manually.
3 Likes
The format you export in matters before you start deleting anything. If you copy photos to a computer, make sure you’re getting the originals and not some resized or converted version, especially with HEIC files, Live Photos, and edited photos. On a Mac, Image Capture or the Photos app import works fine, then back that folder up to an external drive before clearing the phone. On Windows, I’d avoid doing a giant all-at-once import through File Explorer if the library is huge, because it can randomly choke on long videos. Do smaller batches, open a few files afterward, and only then delete from the iPhone and empty Recently Deleted. Cleaner apps can help with sorting, but the boring backup check is the step that saves you if something copied badly.
You probably won’t get this done safely in one pass. The safest non-iCloud route is to separate “free up space” from “organize everything.” First get the photos off the phone and backed up somewhere else, then worry about perfect sorting later. If you try to clean, export, rename, and delete all in the same session, that’s when mistakes happen.
For a no-iCloud setup, I’d use the computer as the middle step, not just plug the phone straight into a random external drive and start deleting. Import to the Mac or Windows PC, check that the videos actually play and that Live Photos didn’t turn into only half the file, then copy that import to an external drive. If the external drive is the only copy, it’s not really a backup. Drives fail, get dropped, or get reformatted by accident. Two copies outside the phone is the point where deleting from the iPhone starts to feel reasonable.
I’m a little less enthusiastic about letting any cleaner app be the thing that decides what disappears permanently. Apps like Clever Cleaner can be useful for finding similar shots and giant videos, but I’d treat them as a sorting tool, not an auto-delete button. Review the groups, delete in smaller chunks, and leave Recently Deleted alone for a day or two if you’re nervous. Once you’re sure the computer and external copy are good, then empty Recently Deleted to actually reclaim the storage.
The sneaky downside of the computer-copy method is that it usually saves the files, not your whole Photos library setup. Your pictures and videos may be safe, but albums, favorites, edits, captions, and “this was in that vacation album” can get messy depending on how you export. That matters if you actually use the Photos app as an organized library and not just a camera roll.
I agree with the others that you should get the originals off the phone before doing big deletions, but I would decide first what you care about preserving. If you only care about the image/video files, a normal import to a Mac or Windows PC is fine. If you care about the Apple Photos library structure, importing into Photos on a Mac is usually less annoying than dumping everything into folders. On Windows, expect more manual sorting afterward.
A non-iCloud cleanup I’d trust would be something like this: import a limited date range first, verify it, then repeat. Don’t start with “all 38,000 items” unless you enjoy failed transfers and mystery missing videos. After each batch, check a few normal photos, a few videos, a Live Photo if you use those, and anything edited. Then copy that batch to an external drive. Only after that would I delete that same date range from the phone.
For duplicates, I’d still be cautious. Clever Cleaner or similar apps can make the review faster, but they won’t know which bad-looking photo has sentimental value or which blurry screenshot is actually important. I’d use it to find groups and large junk, then delete obvious stuff first: screen recordings, downloaded memes, duplicate screenshots, accidental burst shots, and giant videos. Leave the “maybe” photos alone until the phone is no longer screaming about storage.
The other boring thing people forget is Recently Deleted. Deleting photos is only half the job. If you need space right now, you have to clear that album too, but only after you’re sure your computer copy and external copy are good. If you’re even slightly unsure, wait a day. A full phone is annoying. Permanently deleting the wrong batch is worse.