I accidentally deleted important files from my Mac’s APFS drive and realized I don’t have a Time Machine backup. I’m trying to figure out the safest way to recover deleted APFS files without overwriting data or making recovery harder. What tools or steps should I try first?
First thing: stop using that drive if you haven’t already. That matters more than which button you clicked. Emptying Trash, deleting an APFS volume, formatting in Disk Utility, whatever it was, the real risk now is new data getting written over the old stuff.
With a regular hard drive (HDD), deleted files are often still recoverable until something overwrites them. With an SSD, it gets messier because of TRIM. Once TRIM clears those deleted blocks, recovery software can’t bring them back. So if this is your internal Mac SSD, shut things down as soon as you can and avoid installing anything on it.
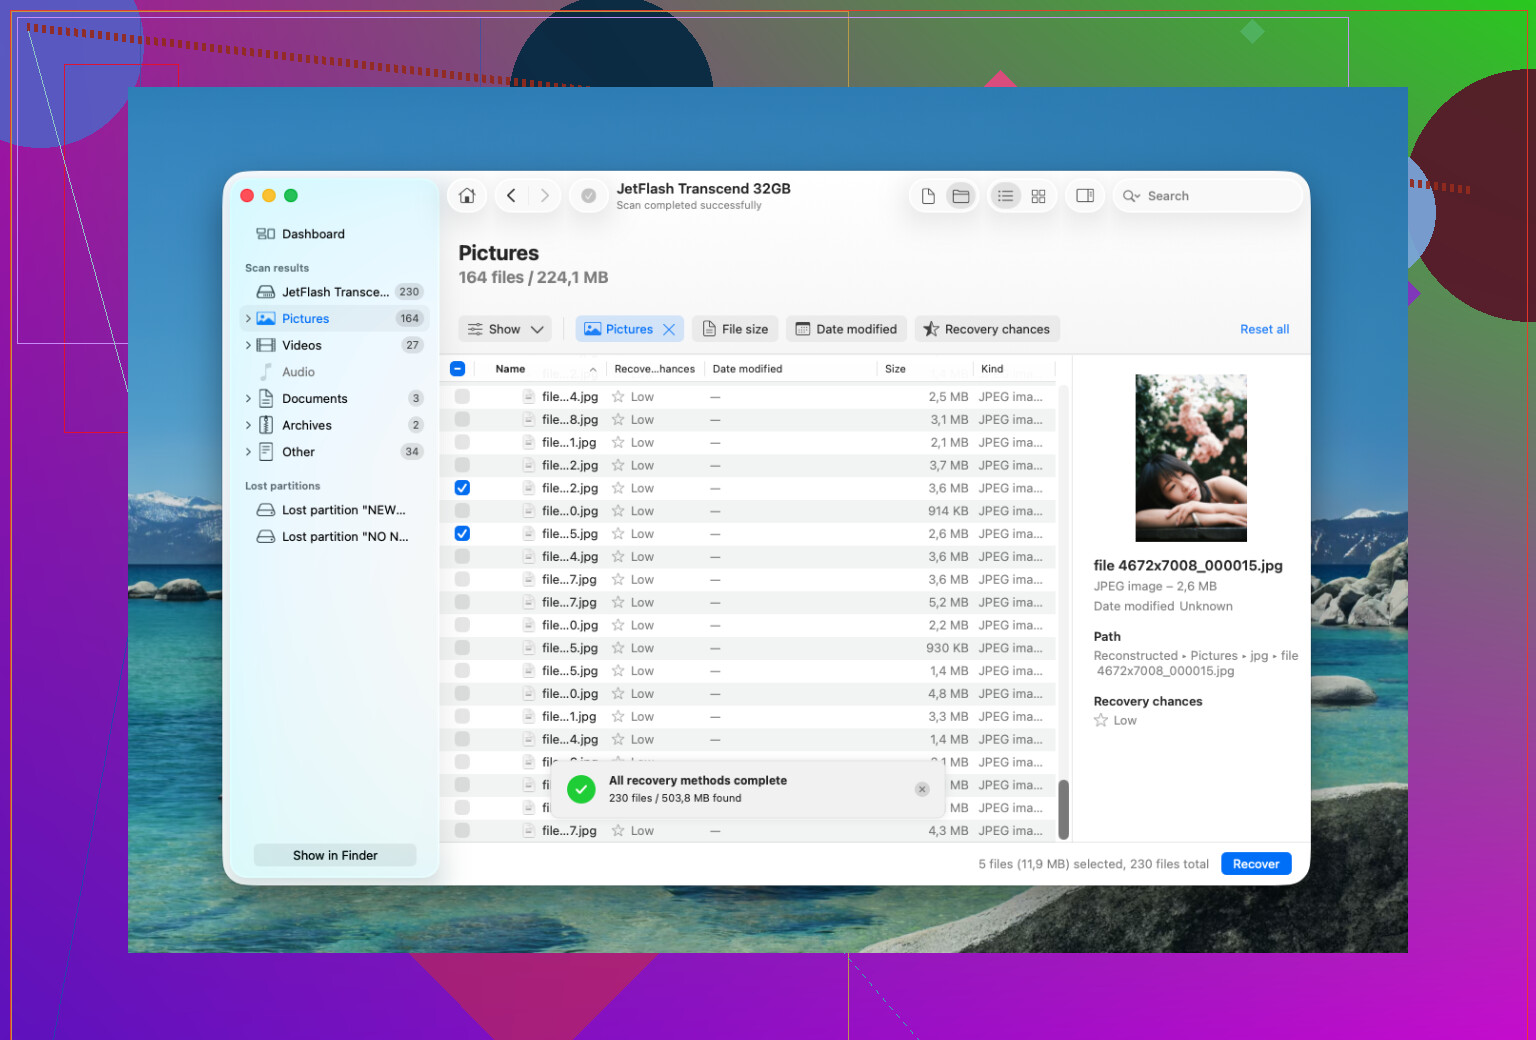
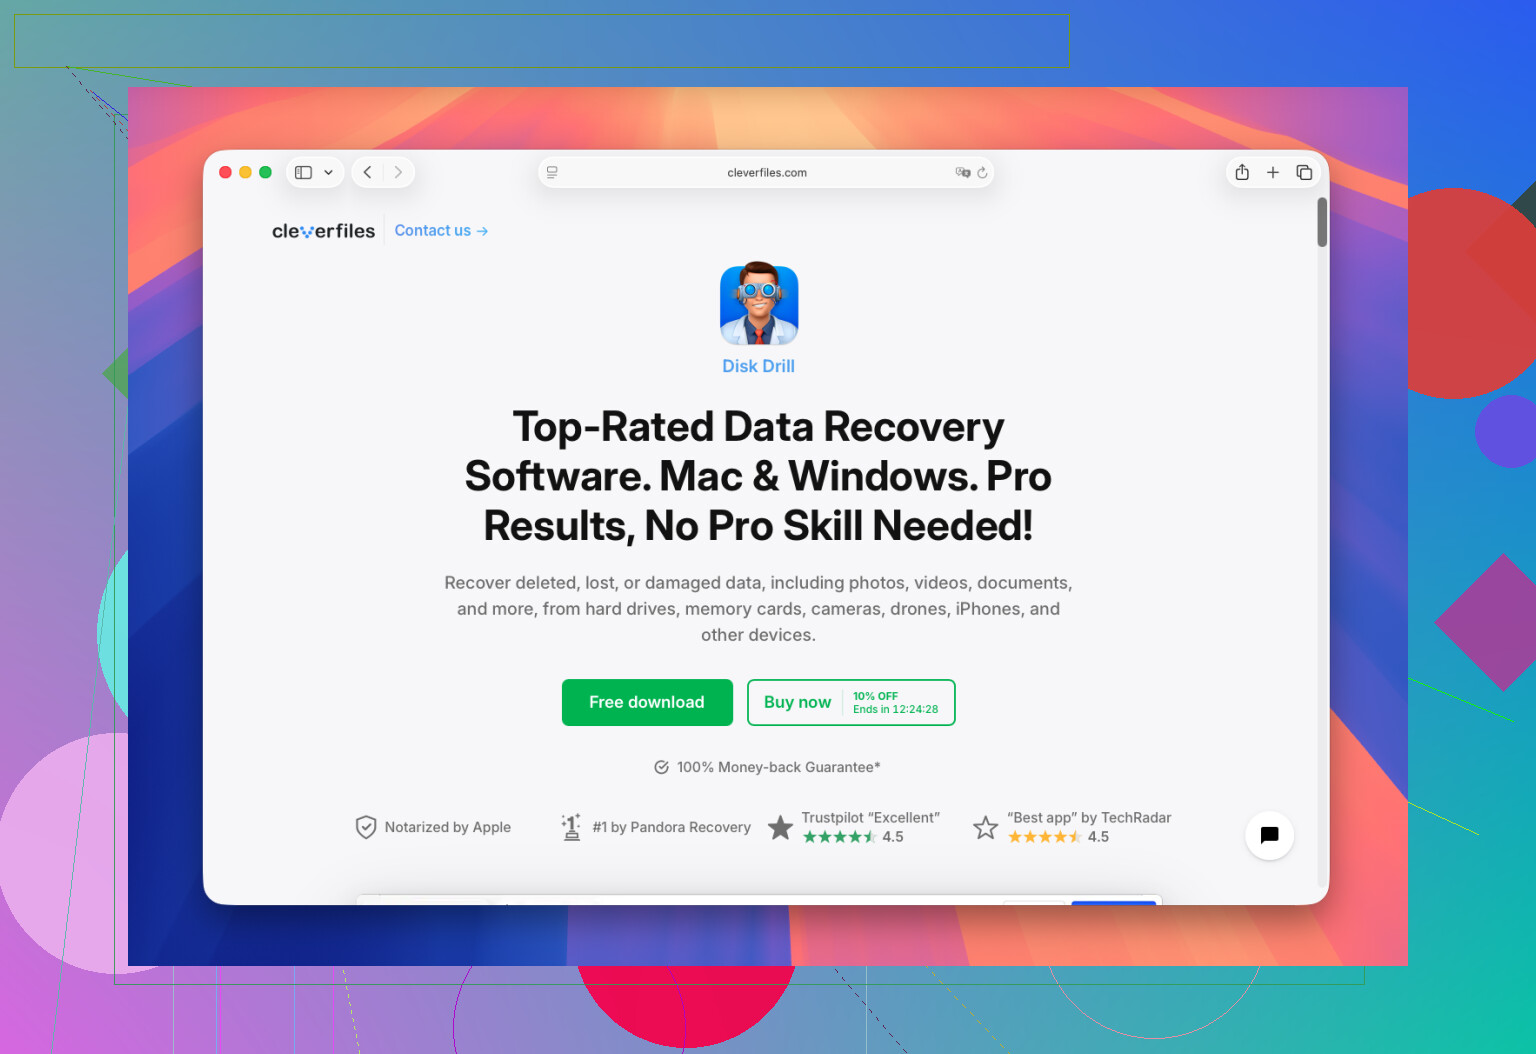
I was in almost the same spot and ended up using Disk Drill. It was more straightforward than I expected, but the important part is using it the right way.
What I did was basically this:
- Installed Disk Drill on a separate drive, not the one I was trying to recover from.
- Connected the problem APFS drive, or selected the internal disk if that’s where the missing files were.
- Allowed Full Disk Access in macOS when prompted, since some APFS scans won’t work properly without it.
- Picked the APFS volume and ran the full “Search for Lost Data” scan.
- Let the scan finish before grabbing files. In my case, waiting found more.
- Used preview first to make sure the files actually opened.
- Recovered only what I needed, and saved it to another drive, not back onto the original APFS volume.
The nice part was that Disk Drill kept the folder structure for a lot of the recovered files. That makes a big difference, because sorting through thousands of random filenames is miserable. It also gives recovery chances for many files, which helps you avoid wasting time restoring stuff that’s probably broken.
If you erased the drive in Disk Utility, that doesn’t automatically mean the data is gone. A quick erase usually removes the file system info rather than wiping every block right away. Recovery can still work if the drive hasn’t been reused much. The big exception is an encrypted APFS volume. If FileVault was on and formatting removed the encryption keys, the old data is usually not recoverable.
If Disk Drill doesn’t turn up what you need, PhotoRec is another option. It’s free, but it works differently. It looks for file signatures instead of relying on APFS metadata, so you’ll usually lose filenames and folders. Still, it can be useful for photos and videos.
I’d stop trying software recovery, though, if the drive is acting physically bad. Stuff like:
- disconnecting over and over,
- clicking, grinding, or beeping,
- showing up only sometimes,
- or freezing every time you scan it.
At that point, powering it on repeatedly can make the damage worse. A professional recovery lab is the safer route. Many of them do free evaluations and a lot work on a 'no data, no fee' basis. Logical recoveries can be a few hundred dollars, while physical damage or clean-room work can easily go past $1,000.
If this is just accidental deletion or a quick format, you’ve got a much better shot. The sooner you stop writing to the drive, the better your odds.
10 Likes
Deleting from an external spinning APFS disk is a very different case than deleting from the internal Apple SSD. On an external HDD, I’d be thinking “clone or image it first, then scan the copy.” On the internal SSD, I’d be much less relaxed because macOS, swap, Spotlight, app caches, and TRIM can all work against you while the machine is sitting there “doing nothing.”
Before you run recovery software, check whether there are APFS snapshots. People sometimes say “no Time Machine backup” when they mean no external backup drive, but local snapshots may still exist if Time Machine was ever enabled. In Terminal, something like tmutil listlocalsnapshots / can tell you if there are any. If there is a snapshot from before the deletion, that may be cleaner than carving files out with a recovery app, because you’re getting the file system’s own previous state instead of reconstructed leftovers.
I agree with the warning not to save recovered files back to the same volume. I’d go one step further and say don’t run Disk Utility First Aid, don’t reinstall macOS, and don’t “clean up space” first. Those are all reasonable habits in normal troubleshooting, but they are bad habits during recovery. Disk Drill or similar tools can be useful, especially if you need a friendlier interface, but scan from a separate boot drive or another Mac if you can. If the missing files matter more than the cost of a lab, stop experimenting after the first careful scan rather than trying five different tools in a row.
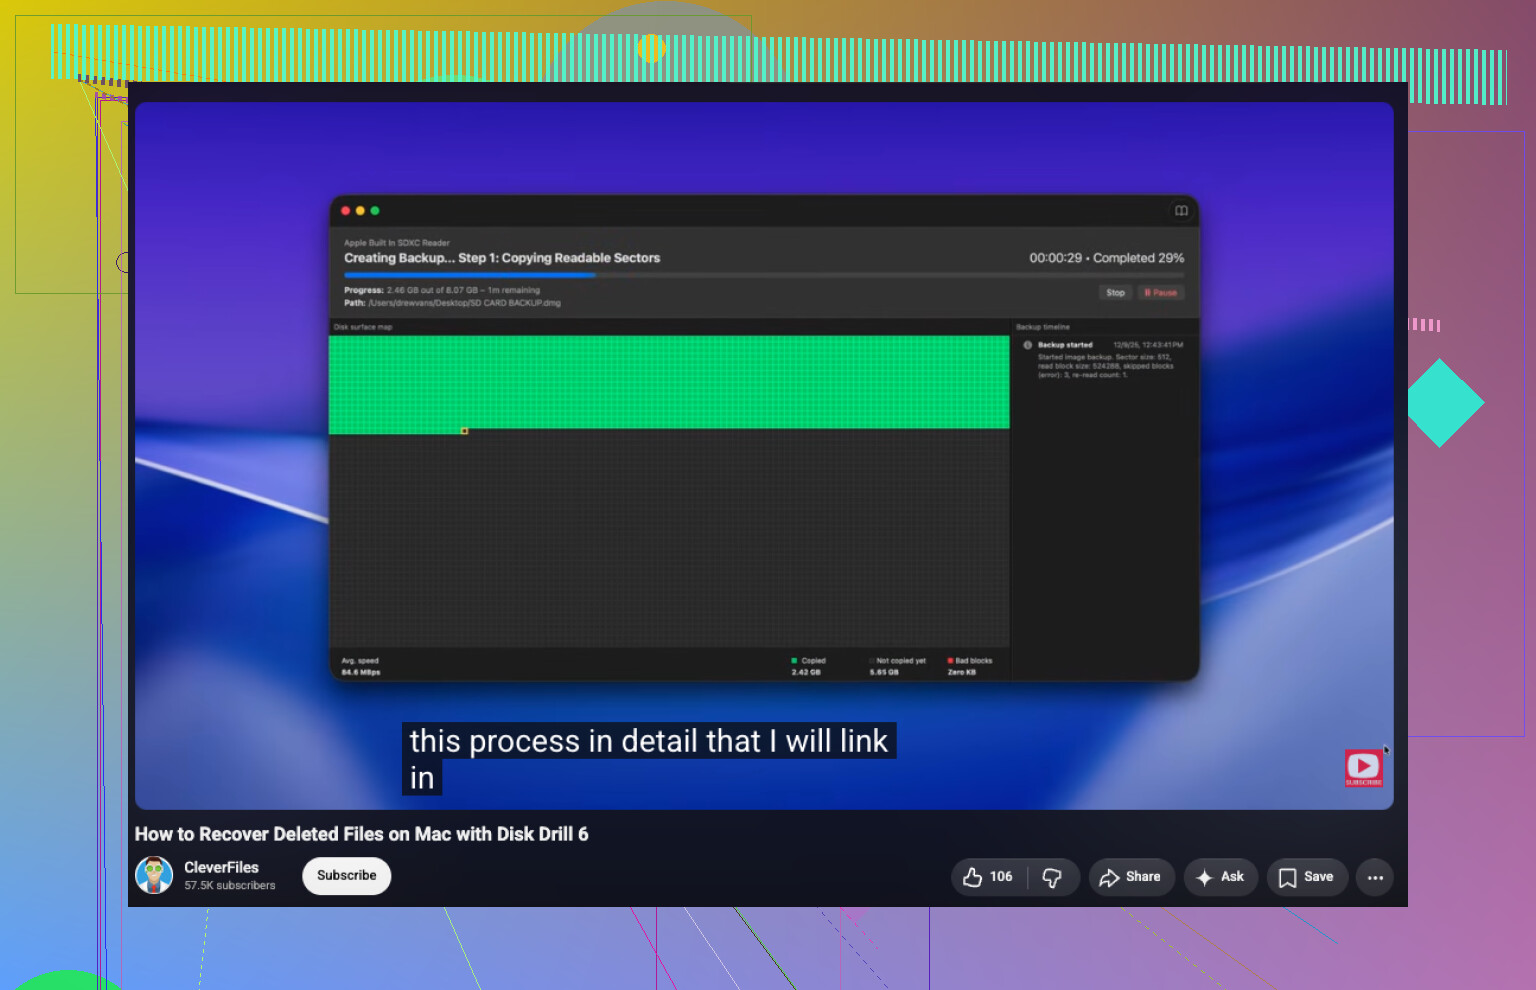
A Finder copy of the drive is not a recovery image. If you copy the visible folders to another disk, you are only copying what macOS can still see, and you may be causing more reads and metadata writes on the source. For recovery, the safer version is a block-level image or clone of the whole device/container, then run tools against that copy.
I agree with the SSD warnings above, but I’d be careful with the “just scan it” approach on an internal Mac drive. If the files are valuable, shut down and work from another Mac or an external boot disk. On Apple silicon Macs you can use Share Disk from Recovery, but remember that unlocking a FileVault volume is still required before anything can read it. Don’t run First Aid just because Disk Utility offers it. First Aid is for making a file system consistent, not for preserving deleted file records.
Disk Drill, R-Studio, UFS Explorer, PhotoRec, etc. can all have a place, but the order matters more than the logo. Image first if possible, scan second, recover to a different physical disk third. If the deleted files were on the internal SSD and the Mac has been used normally since then, keep expectations low. If they were on an external APFS hard drive that has mostly sat unplugged, your odds are much better.